What makes a red velvet cheesecake truly unforgettable? The combination of rich cream cheese and sweet strawberries, of course. This homemade dessert is surprisingly easy to make and features a show-stopping layer of fresh strawberries on top and bottom. Save this idea for your next family favorite dessert night.
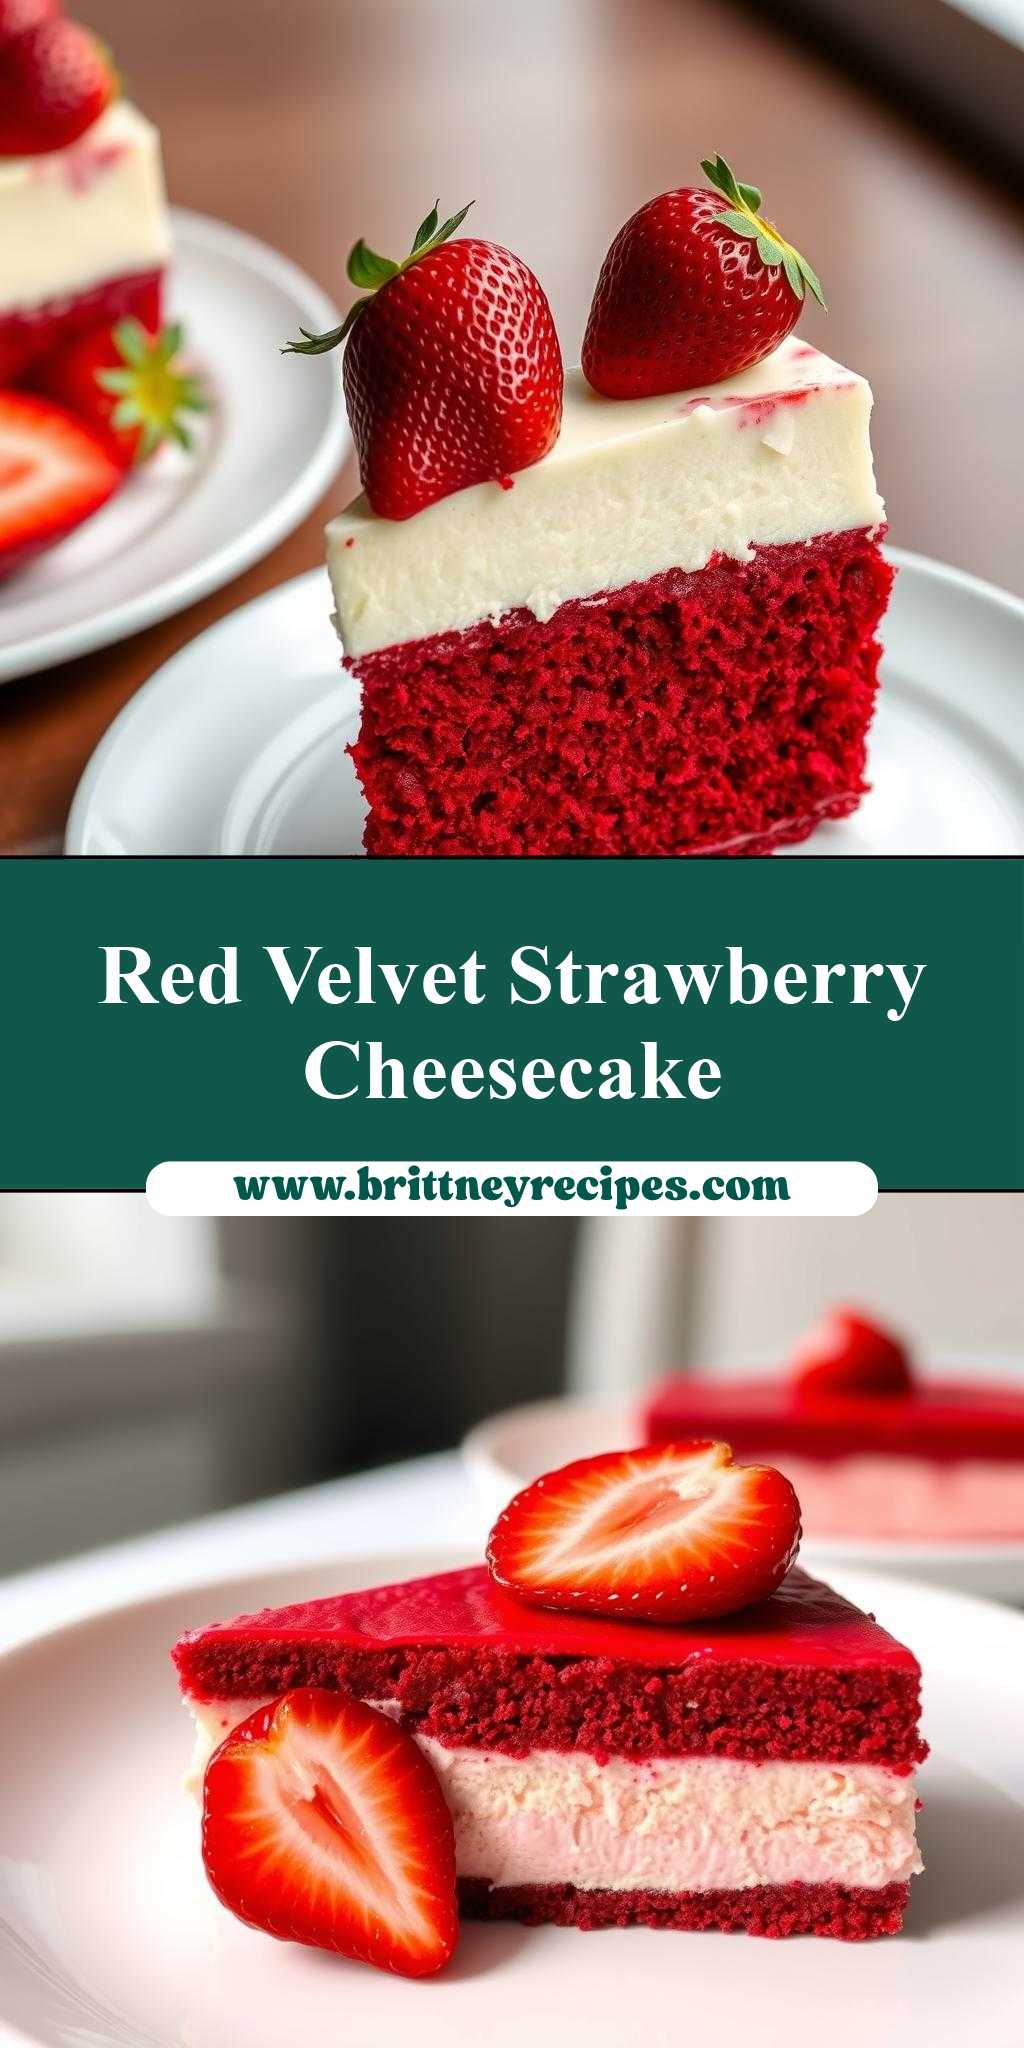
Two Pictures of a Red Velvet Cheesecake with Strawberries on the Top and Bottom
Introduction
Welcome to the most decadent and visually stunning dessert you’ll ever make: a red velvet cheesecake adorned with fresh strawberries on both the top and bottom. This masterpiece is not only a feast for the eyes but also a symphony of flavors and textures that will leave your taste buds dancing. The best part? It’s surprisingly easy to make, using everyday ingredients that you might already have in your pantry. With its perfect balance of tangy cream cheese, sweet strawberries, and the subtle cocoa flavor of red velvet, this cheesecake is sure to impress both family and friends. Whether you’re a seasoned baker or a beginner in the kitchen, this recipe is a must-try for anyone looking to elevate their dessert game without breaking a sweat.
Why This Works
- The flavor balance is impeccable, with the richness of the cheesecake perfectly offset by the freshness of the strawberries, making each bite a delight.
- The ingredients are easily accessible and likely already stocked in your pantry, reducing the hassle of special shopping trips.
- Despite its impressive appearance, the preparation is remarkably straightforward, requiring minimal effort for such a stunning outcome.
Key Ingredients
To make this stunning red velvet cheesecake with strawberries, you’ll need a few key ingredients. For the crust, graham cracker crumbs provide a solid foundation, while for the cheesecake itself, cream cheese, eggs, sugar, and cocoa powder are essential. Don’t forget the buttermilk, which adds moisture and a subtle tang. For the strawberry topping, fresh strawberries are a must, but you can also use frozen strawberries if they’re out of season. Practical substitutions include using almond flour for a gluten-free crust or opting for vegan cream cheese for a dairy-free version. The versatility of this recipe allows you to cater to various dietary needs without sacrificing flavor or texture.
Instructions
- Step 1: Begin by preheating your oven to 325°F (165°C). While that’s warming up, prepare your crust by mixing graham cracker crumbs with a bit of sugar and melted butter until well combined. Press this mixture into the bottom of a springform pan and bake for about 10 minutes, or until lightly browned.
- Step 2: Next, prepare the cheesecake batter. In a large mixing bowl, beat the cream cheese until smooth, then add eggs one at a time, followed by sugar, cocoa powder, and buttermilk. Mix until just combined, being careful not to overmix. Pour this batter over your prepared crust and smooth the top.
- Step 3: Bake the cheesecake for about 55-60 minutes, or until the edges are set and the center is just slightly jiggly. Let it cool completely in the pan before refrigerating it for at least 4 hours or overnight.
- Step 4: For the final touches, slice fresh strawberries and arrange them on top of the cooled cheesecake. You can also use a bit of jam or preserves to secure the strawberries and add an extra layer of flavor. For the bottom layer of strawberries, you can either arrange them before adding the cheesecake batter to the crust or use a strawberry sauce as a base, depending on your preference.
Handy Tips
- To prevent cracking, ensure your cheesecake cools slowly and evenly. Avoid sudden temperature changes, and don’t overbake.
- For a water bath, wrap the outside of your springform pan with foil and place it in a larger pan filled with water to about halfway up the sides of the cheesecake pan. This step helps in achieving a smooth, even bake.
- When arranging strawberries on top, consider a pattern for visual appeal, but also feel free to get creative and make it your own!
Heat Control
For this recipe, maintaining the right oven temperature is crucial. Ensure your oven is at a steady 325°F (165°C) to prevent overcooking the edges before the center is set. Also, keep an eye on the baking time, as oven temperatures can vary. A perfectly baked cheesecake will have a firm edge and a slightly jiggly center. If you’re unsure, it’s always better to err on the side of underbaking slightly, as the cheesecake will continue to set as it cools.
Crunch Factor
The crunch factor in this dessert comes from the graham cracker crust and the fresh texture of the strawberries. To achieve the perfect crunch, make sure your crust is baked until lightly browned, which will give it a nice snap when cooled. For the strawberries, using them fresh and arranging them just before serving will ensure they retain their crisp texture and vibrant flavor.
Pro Kitchen Tricks
- Use room temperature ingredients for a smoother cheesecake batter that mixes more evenly and bakes more consistently.
- Don’t overmix the batter, as this can lead to a dense cheesecake. Stop mixing as soon as the ingredients are combined.
- For easier slicing, dip your knife in hot water and wipe it clean between each slice. This will help prevent the cheesecake from tearing and give you clean, smooth slices.
Storage Tips
- Once your cheesecake is cooled and set, it can be stored in the refrigerator for up to 5 days. Keep it covered to prevent drying out.
- For longer storage, consider freezing the cheesecake without the strawberry topping. Wrap it tightly in plastic wrap or aluminum foil and place it in a freezer-safe bag. Frozen cheesecakes can be stored for up to 2 months. Thaw overnight in the refrigerator before topping with strawberries.
- When reheating, avoid using the microwave, as this can cause uneven heating and a soggy texture. Instead, let the cheesecake come to room temperature naturally or warm it slightly in a low-temperature oven.
Gift Packaging Ideas
If you’re looking to gift this stunning dessert, consider packaging it in a way that showcases its beauty. A clear dome or a decorative cake stand can highlight the cheesecake and its strawberry topping. Wrap the bottom of the pan or cake stand with a colorful ribbon or gift wrap to add a personal touch. For a more rustic look, use a wooden crate or a woven basket, lined with a checkered cloth or a bed of fresh green leaves. Don’t forget to include a personalized note or card to make the gift even more special.
Flavor Variations
- Try adding different spices like cinnamon or nutmeg to the cheesecake batter for a unique twist.
- Experiment with creative toppings such as caramel sauce, chopped nuts, or even candy pieces for a fun surprise.
- Swap out the strawberries for other fruits like blueberries, raspberries, or peaches to change up the flavor and look of the dessert.
Troubleshooting
- If your cheesecake cracks, don’t worry! It’s still edible and delicious. You can cover the top with additional strawberries or a fruit sauce to hide any imperfections.
- For texture problems, ensure you’re not overmixing the batter and that your cheesecake is baked at the right temperature.
- If you need to replace any ingredients, consider the function of each component. For example, if you’re out of buttermilk, you can make a substitute by mixing milk with a tablespoon of white vinegar or lemon juice and letting it sit for a few minutes.
FAQs
- Can I freeze it? Yes, you can freeze the cheesecake for up to 2 months. It’s best to freeze it without the strawberry topping and thaw it overnight in the refrigerator when you’re ready to serve.
- Is it gluten-free? The traditional recipe includes graham cracker crumbs, which contain gluten. However, you can easily make it gluten-free by substituting the graham crackers with a gluten-free alternative like almond flour.
- Can I double the recipe? Yes, you can double the recipe to make a larger cheesecake. Just keep in mind that you’ll need to adjust the baking time accordingly. A larger cheesecake will take longer to bake, so check it frequently to avoid overcooking.
Conclusion
Making a red velvet cheesecake with strawberries on the top and bottom is a rewarding experience that combines creativity with delicious flavors. With its ease of preparation, impressive presentation, and versatility in accommodating different tastes and dietary needs, this dessert is perfect for any occasion. Whether you’re a beginner looking to impress or a seasoned baker seeking a new challenge, this recipe is sure to become a favorite. So go ahead, get creative, and enjoy the process of making something truly special. Happy baking, and don’t forget to share your creations and adaptations with friends and family!