What’s the ultimate dessert mashup – this red velvet oreo cheesecake cake combines rich cheesecake with moist cake and crunchy oreo cookies, all topped with a creamy white frosting, perfect for a quick and easy homemade treat, save this idea
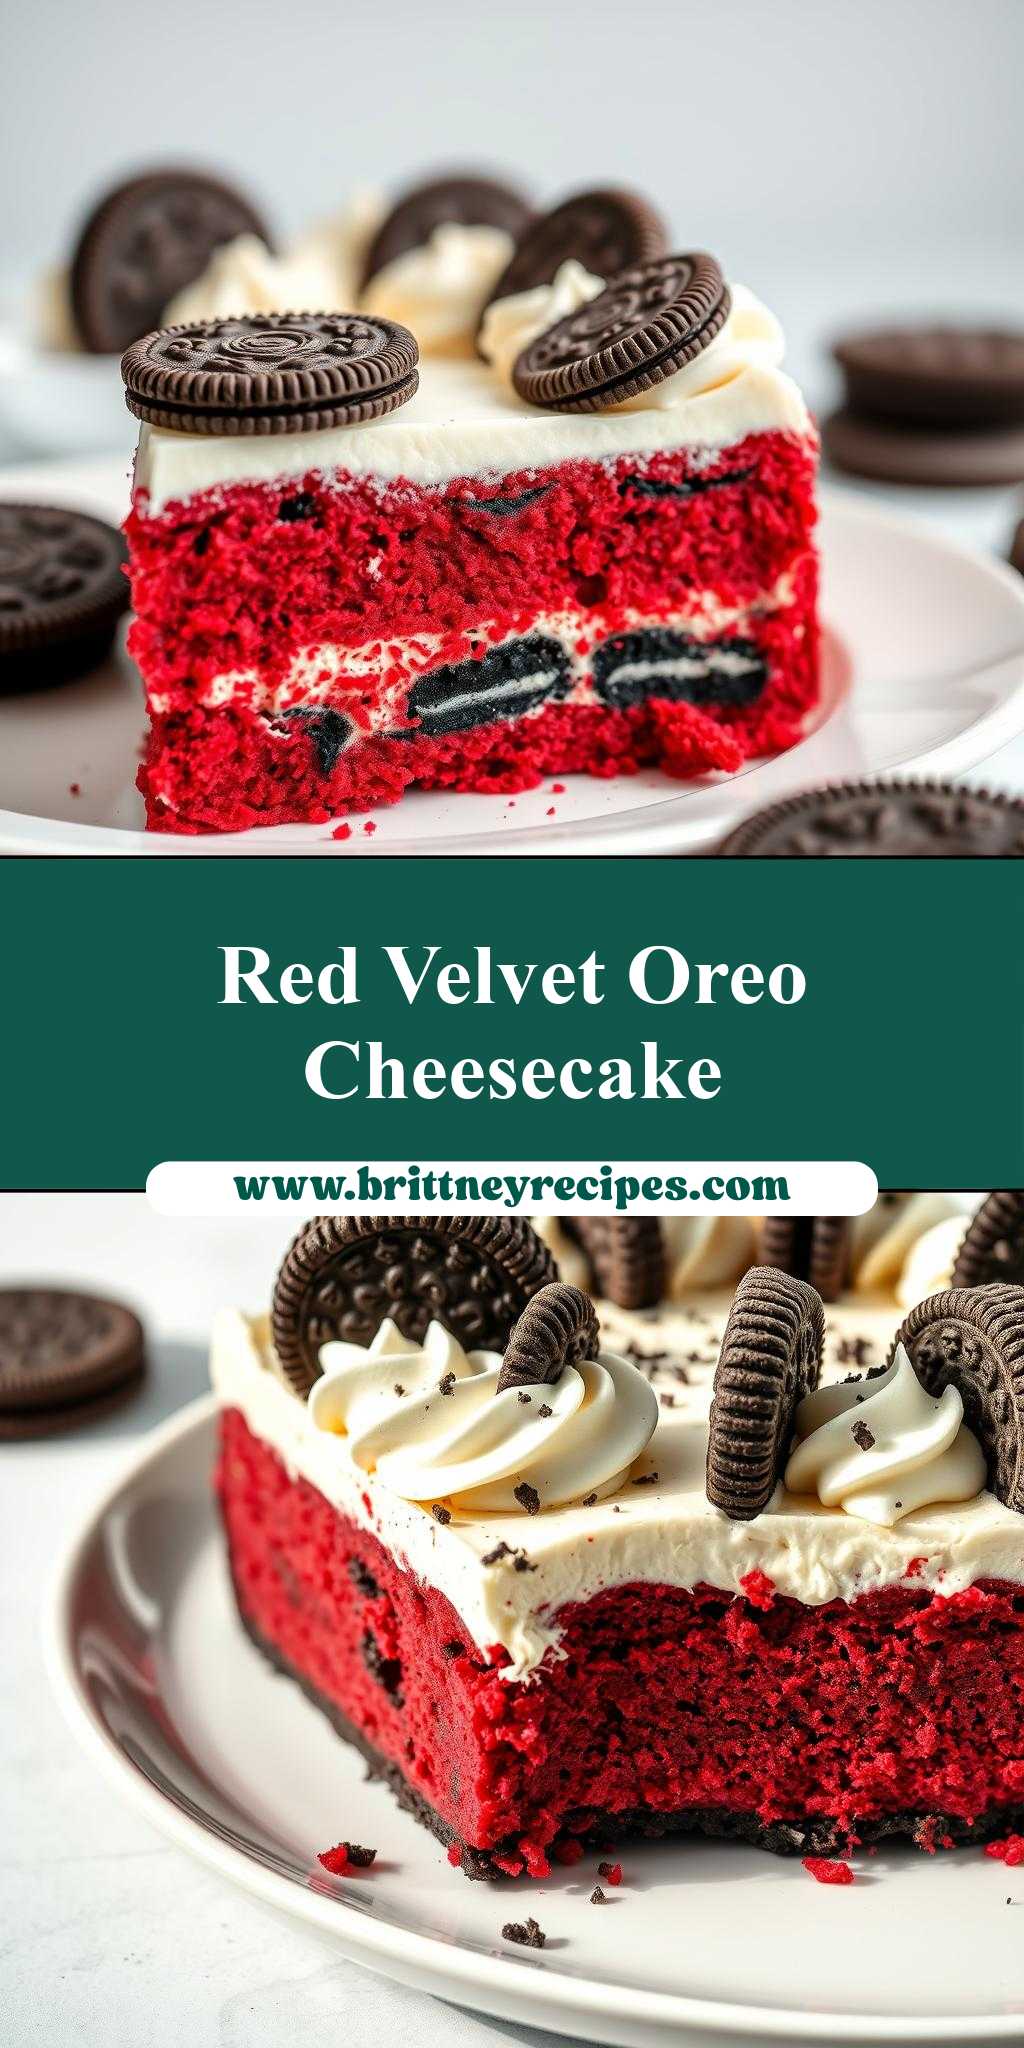
red velvet oreo cheesecake cake with oreo cookies on top and white frosting
Introduction
Imagine a cake that combines the rich flavors of red velvet, the creaminess of cheesecake, and the crunch of Oreo cookies, all wrapped up in a smooth white frosting. This red velvet Oreo cheesecake cake is a masterpiece of textures and tastes, perfect for special occasions or simply to satisfy your sweet tooth. The best part? It’s surprisingly easy to make, using everyday ingredients that you might already have in your pantry. With a little creativity and some straightforward steps, you can create a dessert that’s sure to impress your family and friends.
Why This Works
- Flavor balance and ingredient accessibility: The combination of red velvet cake, cheesecake, and Oreo cookies provides a delightful balance of flavors, while the ingredients are easily accessible in most supermarkets.
- Ease of preparation: Despite its impressive appearance, this cake is relatively simple to prepare, with each component requiring minimal effort and expertise.
- Impressive results with minimal effort: The end result is a stunning and delicious dessert that looks like it was made by a professional, but can be achieved with minimal fuss and effort.
Key Ingredients
To make this red velvet Oreo cheesecake cake, you’ll need a few key ingredients. For the red velvet cake, you’ll need flour, sugar, cocoa powder, and buttermilk, as well as food coloring to give it that distinctive red color. For the cheesecake component, you’ll need cream cheese, eggs, and sour cream. The Oreo cookies will add a nice crunch and flavor contrast, while the white frosting will tie everything together. You can also use practical substitutions, such as using Greek yogurt instead of sour cream, or replacing the Oreo cookies with another type of cookie or crunch element.
Instructions
- Step 1: Begin by preheating your oven to 350°F (180°C). Prepare your cake pans and mix together the ingredients for the red velvet cake, including the flour, sugar, cocoa powder, and buttermilk. Divide the batter evenly between the prepared pans and bake for 25-30 minutes, or until a toothpick inserted into the center comes out clean.
- Step 2: While the cakes are baking, prepare the cheesecake component. Mix together the cream cheese, eggs, and sour cream, and pour the mixture into a prepared springform pan. Bake the cheesecake for 45-50 minutes, or until the edges are set and the center is slightly jiggly.
- Step 3: Once the cakes and cheesecake are cool, it’s time to assemble the cake. Place one of the red velvet cakes on a serving plate, followed by a layer of cheesecake, and then another layer of red velvet cake. Frost the top and sides of the cake with white frosting, and decorate with Oreo cookies.
- Step 4: Finally, add the finishing touches to your cake. You can use additional Oreo cookies to create a border around the edge of the cake, or sprinkle some crushed cookies on top for extra texture and flavor. Slice the cake and serve to your guests, who are sure to be impressed by this stunning dessert.
Handy Tips
- To ensure that your cake is moist and flavorful, make sure to not overmix the batter, and don’t overbake the cakes or cheesecake.
- If you’re having trouble getting the cheesecake to set, try baking it for a few minutes longer, or cooling it in the oven with the door ajar.
- To get a smooth and creamy frosting, make sure to beat the cream cheese and butter until they’re light and fluffy, and then gradually add the powdered sugar.
Heat Control
When baking the cakes and cheesecake, it’s essential to keep an eye on the temperature and timing to ensure that they’re cooked to perfection. The ideal temperature for baking the cakes is 350°F (180°C), while the cheesecake should be baked at 325°F (165°C). The cakes are done when a toothpick inserted into the center comes out clean, while the cheesecake is done when the edges are set and the center is slightly jiggly. To check for doneness, insert a toothpick into the center of the cake or cheesecake, and if it comes out clean or with a few moist crumbs, it’s ready to come out of the oven.
Crunch Factor
The crunch factor in this cake comes from the Oreo cookies, which add a nice texture contrast to the smooth cheesecake and moist red velvet cake. To achieve the perfect crunch, make sure to use fresh Oreo cookies, and don’t overcrush them when you’re adding them to the top of the cake. You can also experiment with different types of cookies or crunch elements, such as chopped nuts or candy pieces, to add extra texture and flavor to your cake.
Pro Kitchen Tricks
- To get a smooth and even frosting, try using a turntable to spin the cake while you’re frosting it, which will help you achieve a smooth and even layer of frosting.
- To prevent the cake from becoming too dense or heavy, try using a combination of all-purpose flour and cake flour, which will help to create a lighter and fluffier texture.
- To add extra flavor and moisture to the cake, try using buttermilk or sour cream, which will help to create a tangy and creamy flavor.
Storage Tips
- To store the cake, wrap it tightly in plastic wrap or aluminum foil and refrigerate for up to 3 days.
- To freeze the cake, wrap it tightly in plastic wrap or aluminum foil and place in a freezer-safe bag. Frozen cake will keep for up to 2 months.
- To reheat the cake, remove it from the refrigerator or freezer and let it come to room temperature. You can also reheat individual slices in the microwave or oven.
Gift Packaging Ideas
This cake is perfect for gifting to friends and family, and can be packaged in a variety of ways to make it look extra special. Try wrapping the cake in decorative paper or fabric, and topping it with a bow or ribbon. You can also add a personal touch by including a handwritten note or card. For a more rustic look, try placing the cake in a wooden crate or basket, and surrounding it with fresh flowers or greenery.
Flavor Variations
- Different spices: Try adding a pinch of cinnamon or nutmeg to the cake batter for an extra boost of flavor.
- Creative toppings: Instead of using Oreo cookies, try using chopped nuts, candy pieces, or fresh fruit to add extra texture and flavor to the cake.
- Ingredient swaps: Try replacing the cream cheese with mascarpone or ricotta cheese for a different flavor and texture.
Troubleshooting
- Texture problems: If the cake is too dense or heavy, try using a combination of all-purpose flour and cake flour. If the cheesecake is too jiggly, try baking it for a few minutes longer.
- Ingredient replacements: If you don’t have buttermilk, try using a mixture of milk and vinegar or lemon juice. If you don’t have sour cream, try using Greek yogurt or mascarpone cheese.
- Over/undercooking signs: If the cake is overcooked, it will be dry and crumbly. If it’s undercooked, it will be soggy and raw-tasting. If the cheesecake is overcooked, it will be dry and cracked. If it’s undercooked, it will be jiggly and raw-tasting.
FAQs
- Can I freeze it? Yes, you can freeze the cake for up to 2 months. Wrap it tightly in plastic wrap or aluminum foil and place in a freezer-safe bag.
- Is it gluten-free? No, this cake is not gluten-free. However, you can try replacing the all-purpose flour with gluten-free flour to make it gluten-free.
- Can I double the recipe? Yes, you can double the recipe to make a larger cake. Just keep in mind that you may need to adjust the baking time and temperature.
Conclusion
This red velvet Oreo cheesecake cake is a show-stopping dessert that’s sure to impress your friends and family. With its combination of moist red velvet cake, creamy cheesecake, and crunchy Oreo cookies, it’s a treat that’s sure to satisfy any sweet tooth. Whether you’re a beginner or an experienced baker, this cake is easy to make and requires minimal effort and expertise. So why not give it a try and see what you think? With its rich flavors and stunning appearance, it’s sure to become a favorite in your household.