What makes peppermint bark so addictive? It’s the perfect combination of rich chocolate and refreshing peppermint, made easy with just a few ingredients like melted chocolate and crushed candy canes. This quick and homemade treat is a family favorite, perfect for a weeknight dessert. Save this idea for a simple yet impressive holiday dessert to make and enjoy with loved ones, try making it soon.
Peppermint Bark
Introduction
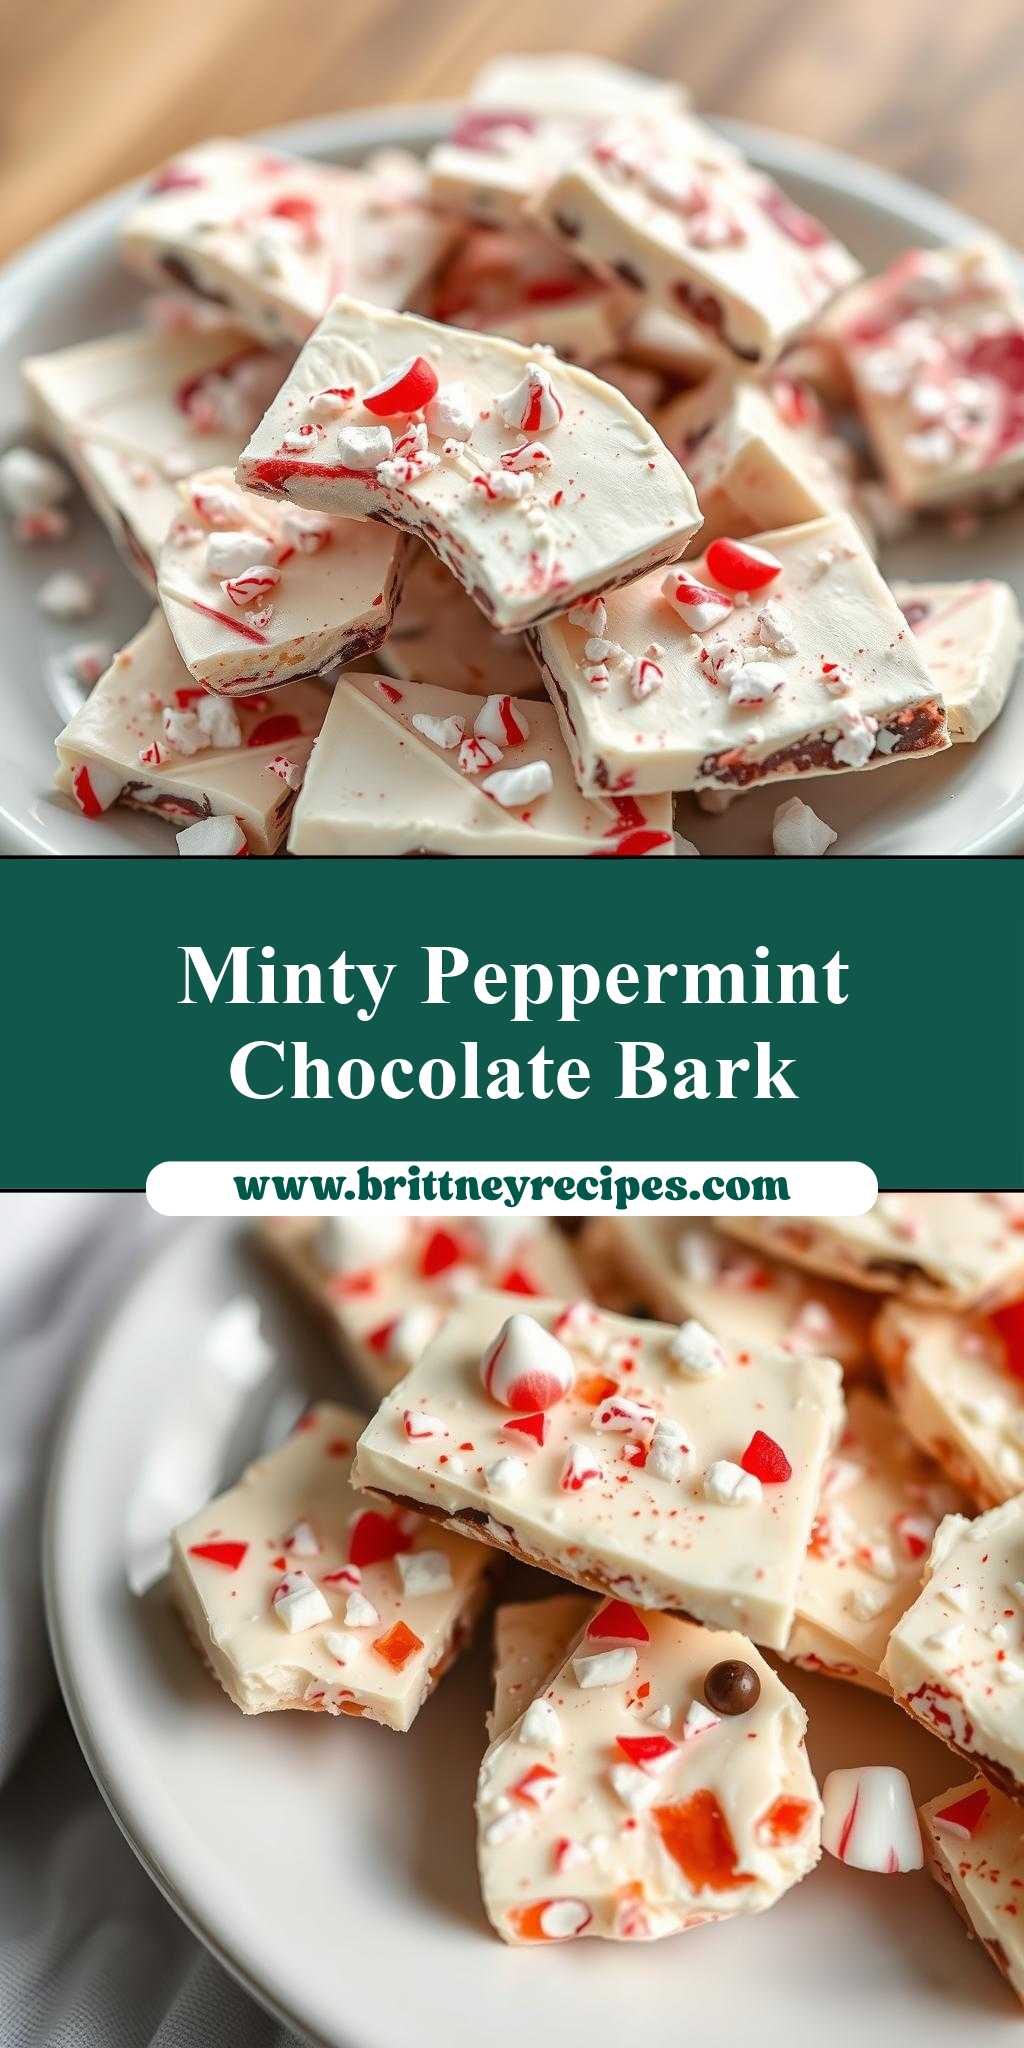
Indulge in the festive spirit with a treat that embodies the essence of the holiday season: Peppermint Bark. This delightful dessert is a masterclass in simplicity, requiring just a few everyday ingredients to create a masterpiece of flavors and textures. With its refreshing peppermint zing, velvety chocolate, and crunchy candy canes, Peppermint Bark is not only a joy to eat but also a pleasure to make. It’s an ideal project for those looking to unleash their creativity in the kitchen, regardless of their skill level. Whether you’re a seasoned baker or a novice cook, this recipe is sure to bring a smile to your face and a twinkle to your holiday gatherings.
Why This Works
- The perfect balance of cool peppermint and rich chocolate creates a flavor experience that’s both refreshing and decadent.
- The use of readily available ingredients, such as chocolate chips, peppermint extract, and candy canes, makes this dessert accessible to everyone.
- The ease of preparation is a significant advantage, as it requires minimal cooking and can be ready in no time, making it perfect for last-minute gifts or party treats.
- The impressive presentation of Peppermint Bark, with its beautifully layered colors and textures, belies its simplicity, making it an ideal choice for those looking to impress without fuss.
Key Ingredients
To make Peppermint Bark, you’ll need a few key ingredients. First, you’ll need some high-quality chocolate chips. You can use either milk chocolate or dark chocolate, depending on your preference. Next, you’ll need some peppermint extract to give your bark that distinctive minty flavor. Crushed candy canes are also essential for adding a fun textural element and a burst of peppermint flavor. If you want to get a bit fancier, you can also add some chopped nuts or sprinkles on top of your bark before it sets. Practical substitutions can be made for those with dietary restrictions, such as using vegan chocolate or gluten-free candy canes.
Instructions
- Step 1: Begin by preparing your workspace. Cover a baking sheet with parchment paper or a silicone mat. This will make it easy to remove your bark once it’s set.
- Step 2: Melt your chocolate chips in a double boiler or in the microwave in 30-second increments, stirring between each interval until smooth. Once your chocolate is melted, stir in a few drops of peppermint extract to give it that refreshing flavor.
- Step 3: Pour the melted chocolate onto your prepared baking sheet. Spread it out into a thin layer, making sure to cover the entire surface. Immediately sprinkle crushed candy canes over the top of the chocolate. If using, add chopped nuts or sprinkles now.
- Step 4: Allow the chocolate to set. This can take about 30 minutes to an hour, depending on the temperature of your room. Once set, use a sharp knife or cookie breaker to break the bark into pieces. Your Peppermint Bark is now ready to be served or gifted.
Handy Tips
- To ensure your chocolate sets properly, avoid making Peppermint Bark in very humid or warm environments.
- Experiment with different types of chocolate and mix-ins to create unique flavor combinations. For example, you could use white chocolate and add some dried cranberries for a fruity twist.
- Consider using high-quality chocolate for the best flavor. While it might be more expensive, it makes a big difference in the taste and texture of your final product.
Heat Control
When melting your chocolate, it’s crucial to control the heat to avoid burning the chocolate. If using a microwave, melt the chocolate in short intervals and stir well between each heating. If the chocolate starts to seize or become grainy, it’s been overheated. In such cases, it might be best to start over with a new batch of chocolate.
Crunch Factor
The crunch factor in Peppermint Bark comes from the crushed candy canes and any other nuts or sprinkles you might add. To achieve the perfect crunch, make sure not to over-crush your candy canes. You want them to still have a bit of texture when you sprinkle them over the chocolate. Also, avoid stirring the candy canes into the chocolate. Instead, sprinkle them on top so they retain their crunch.
Pro Kitchen Tricks
- To make your Peppermint Bark look more professional, use a ruler or straight edge to break it into clean, straight pieces.
- For an extra glossy finish, melt a small amount of shortening (like coconut oil or vegetable shortening) and brush it over the top of the bark once it’s set.
- Consider making a double layer bark by melting a second type of chocolate (like white chocolate) and pouring it over the first layer once it’s set. This creates a beautiful marbled effect.
Storage Tips
- Peppermint Bark can be stored in an airtight container at room temperature for up to 5 days.
- If you live in a warm climate, consider storing your bark in the refrigerator to prevent the chocolate from melting. Let it come to room temperature before serving for the best flavor and texture.
- For longer storage, you can freeze your Peppermint Bark. Simply place the pieces in a freezer-safe bag or container and freeze for up to 2 months. Thaw at room temperature when you’re ready to serve.
Gift Packaging Ideas
Peppermint Bark makes a wonderful gift for friends, family, and coworkers. To package it nicely, place the bark pieces in a decorative tin or jar. You can wrap the jar in ribbon or gift wrap and add a gift tag for a personal touch. Another idea is to place the bark in cellophane bags and tie the top with a ribbon. Add a few whole candy canes on the side for a festive look.
Flavor Variations
- Try adding a pinch of salt to balance out the sweetness of the chocolate and peppermint.
- Experiment with different extracts, like orange or almond, for a unique twist on the classic peppermint flavor.
- Use different types of nuts, like almonds or pecans, for added texture and flavor.
Troubleshooting
- If your chocolate becomes too thick to pour, you can thin it out with a small amount of shortening.
- If the candy canes don’t stick well to the chocolate, try sprinkling them on immediately after pouring the chocolate, while it’s still warm.
- If you notice your bark becoming too soft or melty, it might be due to the temperature or humidity in your environment. Try storing it in a cooler place or using a higher cocoa content chocolate, which tends to be less sensitive to temperature fluctuations.
FAQs
- Can I freeze Peppermint Bark? Yes, Peppermint Bark can be frozen for up to 2 months. Simply thaw at room temperature when you’re ready to serve.
- Is Peppermint Bark gluten-free? Yes, as long as you use gluten-free chocolate and candy canes, Peppermint Bark is gluten-free.
- Can I double the recipe? Absolutely. Simply double all the ingredients and follow the same instructions. Keep in mind that you might need a larger baking sheet to accommodate the increased amount of chocolate.
Conclusion
Making Peppermint Bark is a fun and rewarding experience that’s perfect for the holiday season. With its simple ingredients, easy preparation, and beautiful presentation, it’s an ideal dessert for anyone looking to add a little magic to their celebrations. Don’t be afraid to experiment with different flavors and toppings to make it your own, and enjoy sharing your creations with friends and family. Happy baking, and warmest wishes for a joyous holiday season!