What makes a perfect dessert for a busy weeknight dinner – is it the combination of tender apples and crunchy oat topping in these quick and easy apple crumble bars, made with fresh cinnamon and a hint of homemade charm, or something else entirely that draws you in – Save this idea
Apple Crumble Bars
Introduction
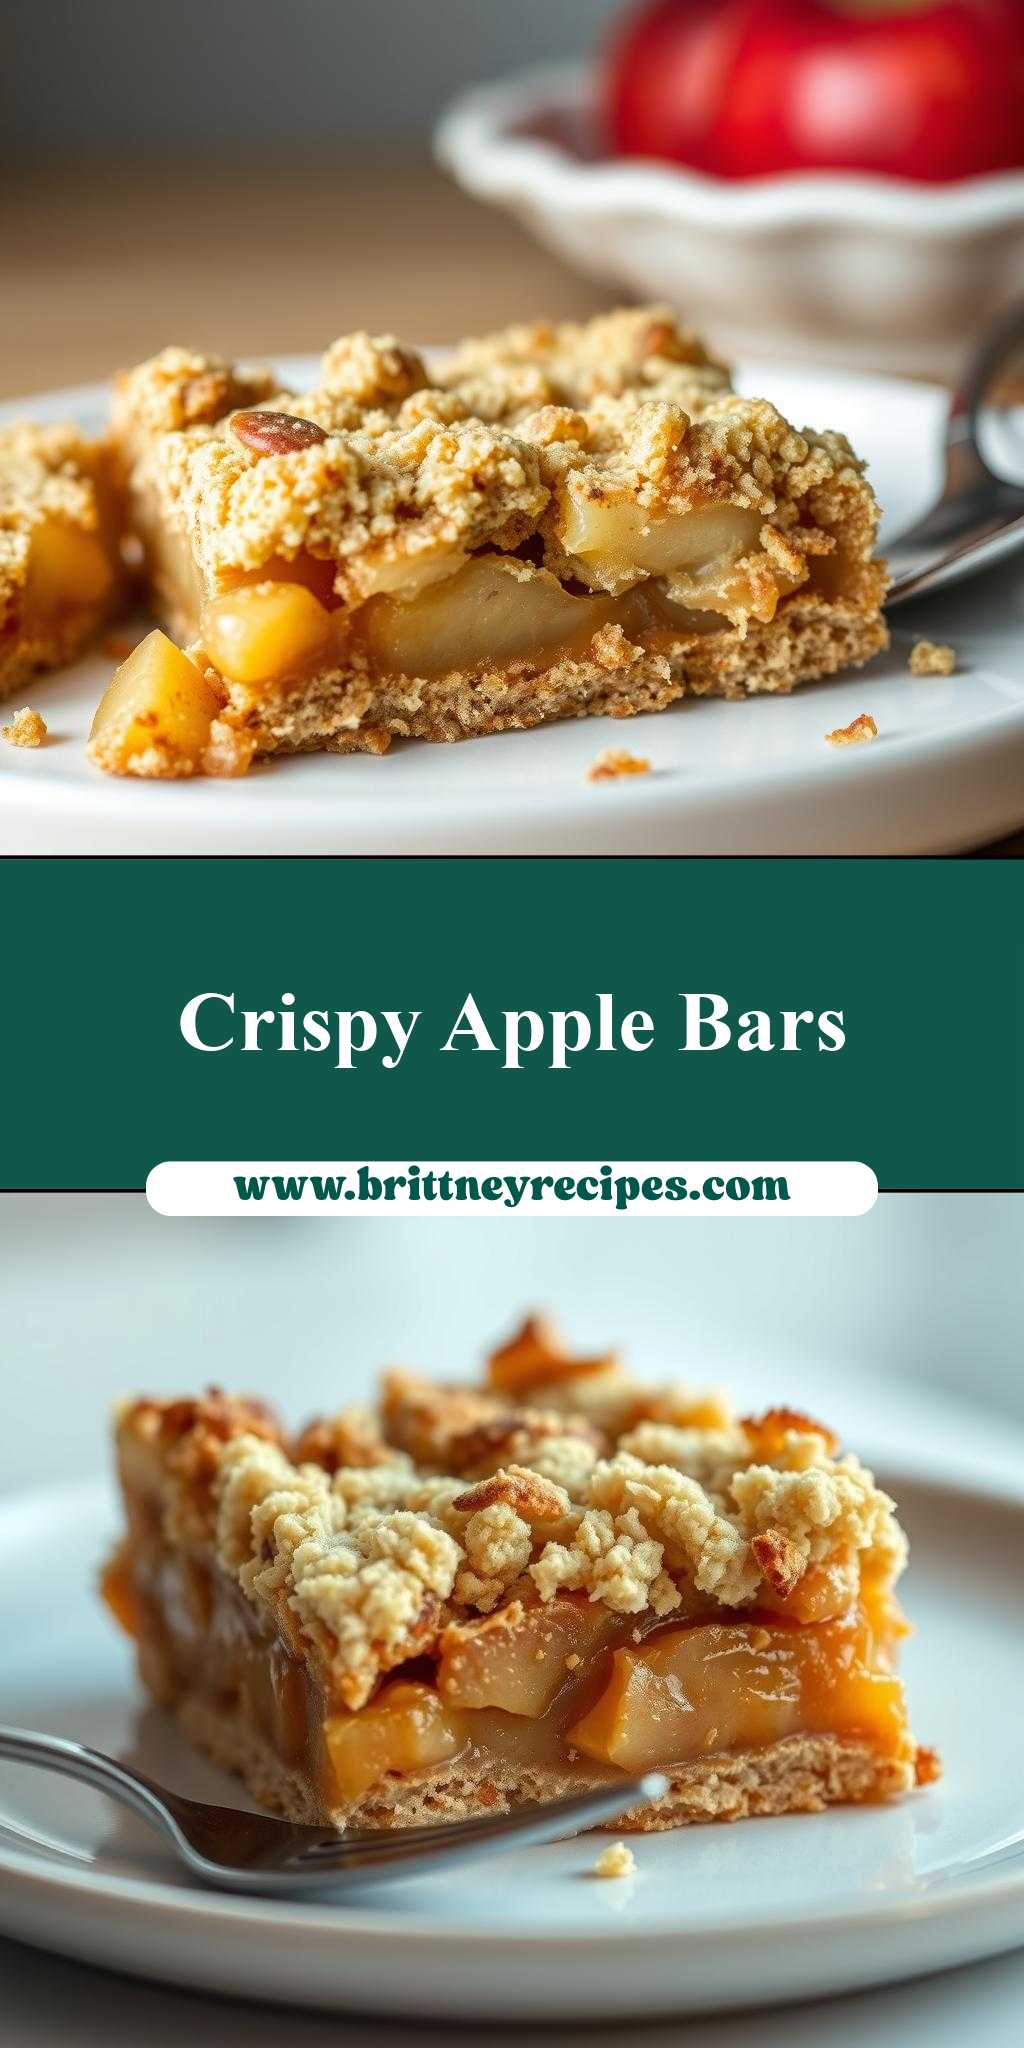
Imagine a dessert that combines the warmth of autumn with the simplicity of everyday ingredients, all wrapped up in a deliciously crumbly package. Apple Crumble Bars are a masterclass in ease, flavor, and creativity, perfect for beginners and seasoned bakers alike. With their buttery crust, tender apples, and crunchy oat topping, these bars are sure to become a staple in your kitchen. The best part? They’re incredibly easy to make, requiring minimal effort for maximum impact. Whether you’re a fan of traditional desserts or looking to mix things up with new flavors, Apple Crumble Bars are the perfect treat to share with friends and family.
Why This Works
- Flavor balance and ingredient accessibility: The combination of sweet apples, crunchy oats, and a hint of cinnamon creates a perfectly balanced flavor profile that’s both comforting and exciting. Plus, the ingredients are easy to find in most supermarkets, making this recipe accessible to everyone.
- Ease of preparation: With a simple crust, a one-pan apple filling, and a quick oat topping, these bars come together in no time. The steps are easy to follow, and the ingredients are straightforward, making this recipe perfect for busy weeknights or special occasions.
- Impressive results with minimal effort: Despite their ease of preparation, Apple Crumble Bars are sure to impress your friends and family with their golden-brown crust, tender apples, and crunchy topping. They’re perfect for potlucks, picnics, or as a sweet treat to brighten up a weekday.
Key Ingredients
The star of the show is, of course, the apples. You’ll need a mix of sweet and tart varieties, such as Granny Smith and Gala, to create a balanced flavor profile. For the crust, you’ll need all-purpose flour, granulated sugar, and cold butter. The oat topping is made with rolled oats, brown sugar, and a hint of cinnamon. If you’re looking for substitutions, you can use other types of sugar, such as honey or maple syrup, and swap out the flour for a gluten-free alternative. Just be sure to adjust the ratio of ingredients accordingly to achieve the right texture and flavor.
Instructions
- Step 1: Begin by preheating your oven to 375°F (190°C). While that’s warming up, peel, core, and chop your apples into bite-sized pieces. In a large bowl, mix together the flour, granulated sugar, and cold butter until the mixture forms a crumbly crust. Press the crust into a 9×9-inch baking dish and set aside.
- Step 2: In a large skillet, cook the chopped apples over medium heat until they’re tender and lightly caramelized. Add a hint of cinnamon and a squeeze of lemon juice to bring out the flavors. Once the apples are cooked, spread them evenly over the crust.
- Step 3: In a separate bowl, mix together the rolled oats, brown sugar, and a hint of cinnamon. Add a pat of cold butter and use your fingers or a pastry blender to work it into the mixture until it forms a crumbly topping. Spread the oat mixture evenly over the apples, making sure to cover the entire surface.
- Step 4: Bake the bars for 35-40 minutes, or until the crust is golden brown and the oat topping is crispy. Remove the bars from the oven and let them cool completely in the pan before slicing and serving. You can serve them warm, topped with vanilla ice cream or whipped cream, or at room temperature, perfect for snacking on the go.
Handy Tips
- Use a mix of sweet and tart apples for the best flavor. If you only have one type of apple, you can adjust the amount of sugar in the recipe accordingly.
- Don’t overmix the crust or the oat topping, as this can lead to a tough or dense texture. Instead, use a light touch and let the ingredients come together in a crumbly mixture.
- If you’re looking for a gluten-free alternative, you can swap out the all-purpose flour for a gluten-free flour blend. Just be sure to adjust the ratio of ingredients accordingly to achieve the right texture and flavor.
Heat Control
When it comes to baking the Apple Crumble Bars, it’s all about heat control. You’ll want to preheat your oven to 375°F (190°C) and bake the bars for 35-40 minutes, or until the crust is golden brown and the oat topping is crispy. Keep an eye on the bars as they bake, as the cooking time may vary depending on your oven. You’ll know they’re done when the crust is lightly browned and the apples are tender. If you’re unsure, you can always check the bars by inserting a toothpick into the center. If it comes out clean, the bars are ready to go.
Crunch Factor
The crunch factor is all about texture, and Apple Crumble Bars have it in spades. The key to achieving the perfect crunch is to not overmix the oat topping and to bake the bars until they’re lightly golden brown. You’ll know they’re done when the oat topping is crispy and the apples are tender. If you prefer a chewier texture, you can bake the bars for a few minutes less. Just be sure to keep an eye on them, as the cooking time may vary depending on your oven.
Pro Kitchen Tricks
- Use a pastry blender to work the cold butter into the crust and oat topping. This will help you achieve a crumbly texture and prevent the mixture from becoming too tough or dense.
- Don’t overbake the bars, as this can lead to a dry or tough texture. Instead, bake them until they’re lightly golden brown and the apples are tender.
- Let the bars cool completely in the pan before slicing and serving. This will help them set and make them easier to slice and serve.
Storage Tips
- Store the Apple Crumble Bars in an airtight container at room temperature for up to 3 days. You can also freeze them for up to 2 months and thaw them at room temperature or in the microwave.
- Reheat the bars in the microwave or oven until they’re warm and crispy. You can also serve them at room temperature, perfect for snacking on the go.
- Use airtight containers or freezer bags to store the bars and keep them fresh. You can also wrap them individually in plastic wrap or aluminum foil for a quick and easy snack.
Gift Packaging Ideas
Apple Crumble Bars are the perfect gift for friends and family, and they’re easy to package and transport. Simply slice the bars into individual portions and wrap them in plastic wrap or aluminum foil. You can also place them in a decorative tin or jar and tie them with a ribbon or twine. If you’re feeling fancy, you can add a gift tag or card with a personal message. Whatever you choose, the recipient is sure to love these delicious and easy-to-make bars.
Flavor Variations
- Different spices: Try adding a hint of nutmeg or cardamom to the apples for a unique and exciting flavor. You can also use different types of cinnamon, such as Saigon or Ceylon, for a more complex flavor profile.
- Creative toppings: Top the bars with a scoop of vanilla ice cream or whipped cream for a decadent treat. You can also add a sprinkle of cinnamon or nutmeg for extra flavor and texture.
- Ingredient swaps: Swap out the all-purpose flour for a gluten-free flour blend or use different types of sugar, such as honey or maple syrup, for a unique flavor profile. Just be sure to adjust the ratio of ingredients accordingly to achieve the right texture and flavor.
Troubleshooting
- Texture problems: If the crust is too tough or dense, try adjusting the ratio of ingredients or using a different type of flour. If the oat topping is too crunchy, try baking the bars for a few minutes less.
- Ingredient replacements: If you don’t have a certain ingredient, try substituting it with something similar. For example, you can use different types of sugar or flour to achieve the right texture and flavor.
- Over/undercooking signs: Keep an eye on the bars as they bake, as the cooking time may vary depending on your oven. You’ll know they’re done when the crust is lightly browned and the apples are tender. If you’re unsure, you can always check the bars by inserting a toothpick into the center. If it comes out clean, the bars are ready to go.
FAQs
- Can I freeze it? Yes, you can freeze the Apple Crumble Bars for up to 2 months and thaw them at room temperature or in the microwave.
- Is it gluten-free? No, the original recipe is not gluten-free, but you can swap out the all-purpose flour for a gluten-free flour blend to make it gluten-free.
- Can I double the recipe? Yes, you can double the recipe to make a larger batch of bars. Just be sure to adjust the cooking time accordingly and keep an eye on the bars as they bake.
Conclusion
Apple Crumble Bars are a delicious and easy-to-make dessert that’s perfect for any occasion. With their buttery crust, tender apples, and crunchy oat topping, they’re sure to become a staple in your kitchen. Whether you’re a beginner or a seasoned baker, this recipe is easy to follow and requires minimal effort for maximum impact. So go ahead, give it a try, and enjoy the warm, comforting flavors of Apple Crumble Bars. Don’t be afraid to experiment with different ingredients and flavor combinations to make the recipe your own. And most importantly, have fun and enjoy the process of creating something delicious and special.