What makes a cake truly unforgettable? A super moist texture and rich flavors, like this easy homemade coconut cake made with shredded coconut and a hint of creamy sweetness. Perfect as a quick family favorite dessert, save this idea for a special occasion or weeknight treat, try it soon.
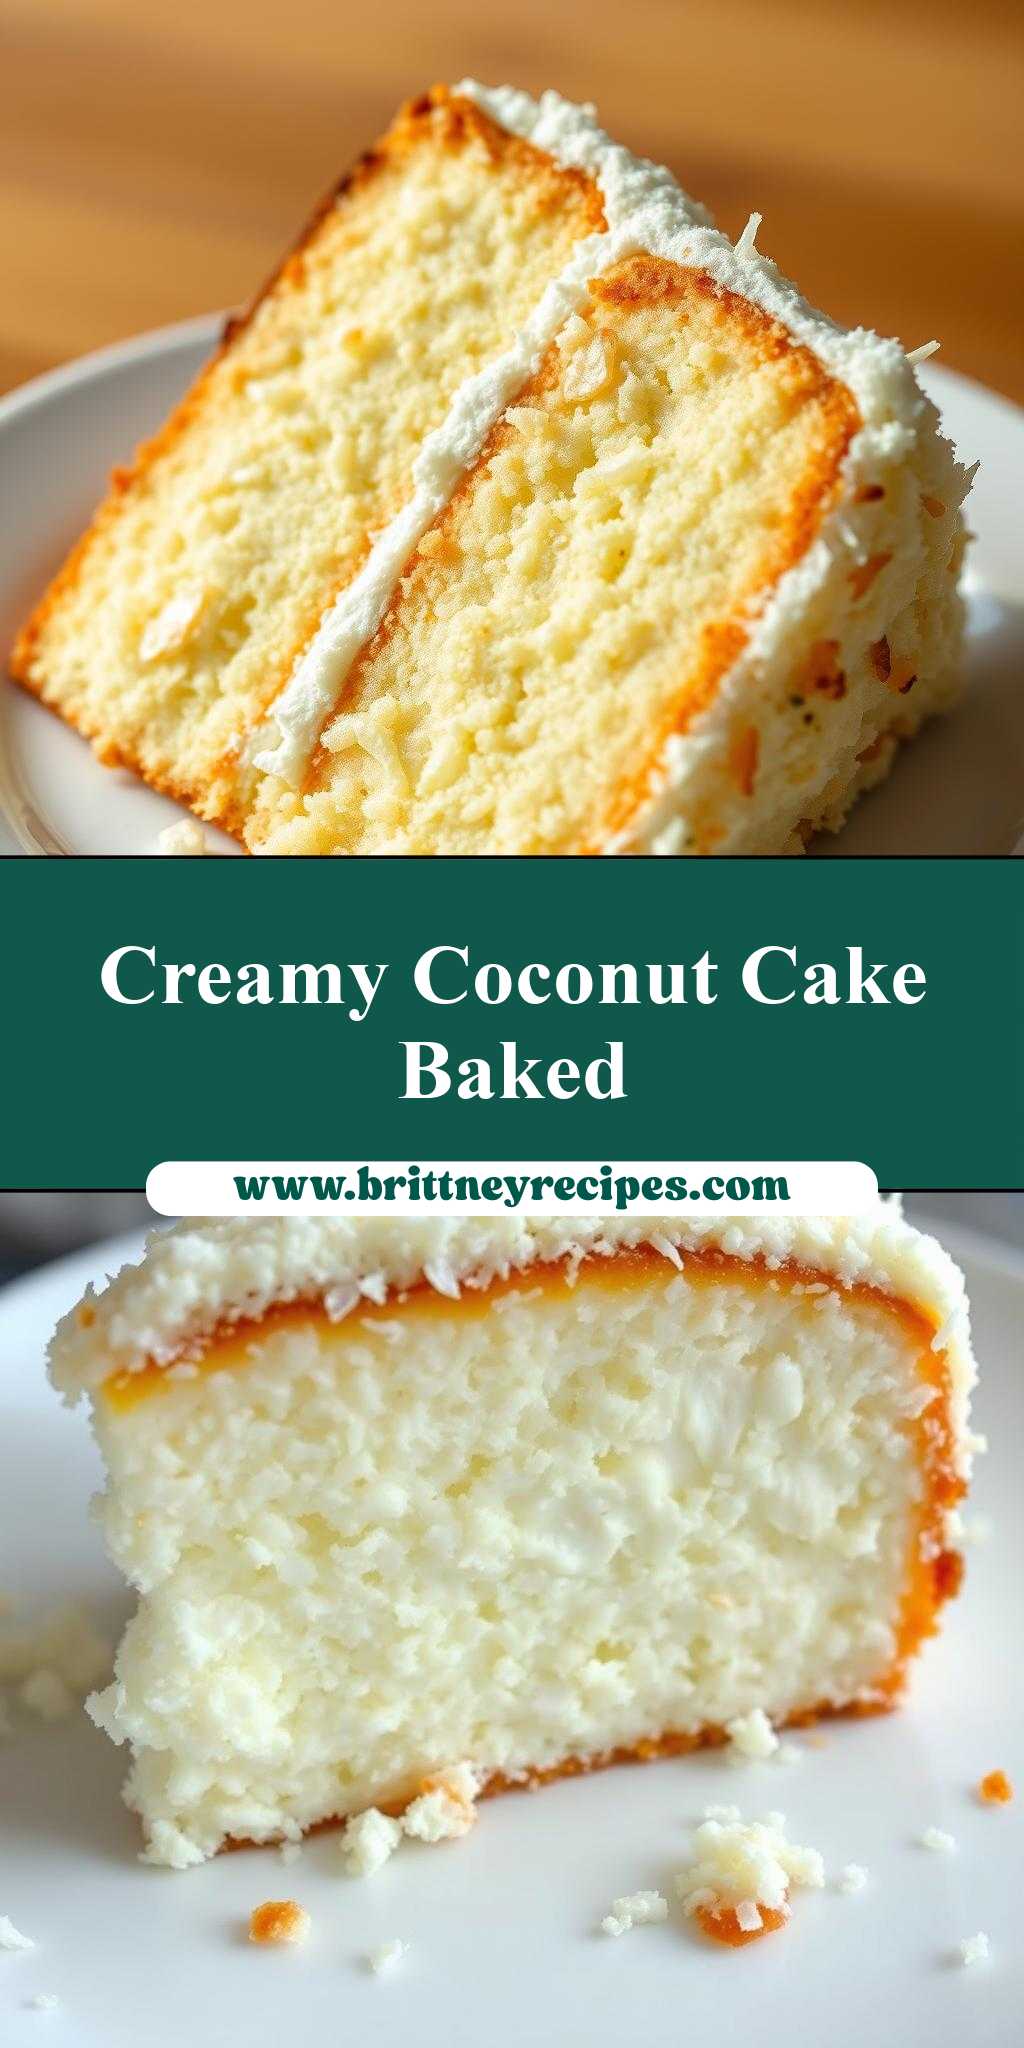
The BEST Creamy Coconut Cake – Super Moist and Easy to Make!
Introduction
Imagine sinking your teeth into a slice of heaven – a moist, creamy, and incredibly delicious coconut cake that’s so easy to make, you’ll wonder how you ever lived without it. This recipe is a game-changer for anyone looking to impress their family and friends with a dessert that’s both simple and spectacular. Using everyday ingredients and a few clever tricks, you’ll be able to create a cake that’s not only bursting with coconut flavor but also looks like it was plucked straight from a bakery shelf. So, let’s dive into the world of creamy coconut cake and discover the secrets to making the best one you’ve ever tasted!
Why This Works
- Flavor balance and ingredient accessibility: This recipe strikes the perfect balance between the richness of coconut and the lightness of creamy textures, all while using ingredients that are easily found in your local grocery store.
- Ease of preparation: Despite its impressive outcome, this cake requires minimal effort and time, making it perfect for busy days or last-minute gatherings.
- Impressive results with minimal effort: The combination of moist cake, creamy frosting, and toasted coconut flakes creates a visually stunning dessert that’s sure to impress, without needing to be a professional baker.
Key Ingredients
The stars of our show include high-quality coconut milk for an intense coconut flavor, unsalted butter for moisture and richness, large eggs for structure, granulated sugar for sweetness, all-purpose flour as the base, baking powder for a light texture, salt to balance flavors, pure vanilla extract for depth, and shredded coconut for that perfect coconut crunch. For practical substitutions, you can use almond milk or another non-dairy milk alternative for those with dietary restrictions, and coconut oil can replace butter for a different flavor profile.
Instructions
- Step 1: Begin by preheating your oven to 350°F (180°C). Prepare your cake pans by greasing them with butter and dusting with flour. In a large mixing bowl, whisk together your flour, baking powder, and salt. Set aside.
- Step 2: In another large bowl, use an electric mixer to cream together your butter and sugar until light and fluffy. Beat in your eggs one at a time, ensuring each egg is fully incorporated before adding the next. Gradually mix in your flour mixture, alternating with coconut milk, beginning and ending with the flour mixture. Beat in your vanilla extract.
- Step 3: Divide your batter evenly between your prepared pans and smooth the tops. Bake for about 25-30 minutes, or until a toothpick inserted into the center comes out clean. Allow the cakes to cool in the pans for 5 minutes before transferring them to a wire rack to cool completely.
- Step 4: For the frosting, chill your bowl and beaters in the freezer for about 10 minutes. Remove from the freezer and beat the heavy cream until it begins to thicken. Gradually add your powdered sugar, beating until stiff peaks form. Add your coconut cream and beat until well combined. Once your cakes are completely cool, you can frost and decorate with toasted coconut flakes.
Handy Tips
- Always use room temperature ingredients for a lighter cake. If you’re in a hurry, you can warm your eggs by submerging them in warm water for a few minutes, and soften your butter by microwaving it for a few seconds.
- Avoid overmixing your batter, as this can lead to a dense cake. Stop mixing as soon as your ingredients are combined.
- For an extra moist cake, brush the tops with a simple syrup (equal parts water and granulated sugar, dissolved) after they’ve cooled slightly.
Heat Control
When baking, maintaining the right temperature is crucial. Ensure your oven is at 350°F (180°C) for even cooking. The cakes are done when they’re lightly golden on top and a toothpick inserted into the center of each cake comes out clean. This should take about 25-30 minutes, but keep an eye on them as oven times can vary.
Crunch Factor
To achieve the perfect crunch on your coconut cake, toast your shredded coconut in a 350°F oven for about 5-7 minutes, or until lightly golden. Keep an eye on it, as coconut can quickly go from perfectly toasted to burnt. This toasted coconut adds a delightful texture contrast to the moist cake and creamy frosting.
Pro Kitchen Tricks
- To ensure your cake layers are even, bake them for the same amount of time. If one layer is slightly thicker, it might require an additional minute or two in the oven.
- For a professional finish, place your frosted cake in the refrigerator for about 10 minutes to set the frosting before serving. This will also help the flavors to meld together.
- Consider using cake strips around your pans to promote even baking and prevent doming. These strips can be soaked in water, wrapped around the outside of your pans, and secured with a pin.
Storage Tips
- Leftover cake can be stored in an airtight container at room temperature for up to 3 days. For longer storage, refrigerate for up to 5 days or freeze for up to 2 months. When freezing, it’s best to freeze the layers separately before frosting for the best texture upon thawing.
- When reheating, let the cake come to room temperature or warm it gently in the microwave. Be cautious not to overheat, as this can dry out the cake.
- The best containers for storing cake are those that are airtight and can keep moisture out. Consider using glass or plastic containers with tight-fitting lids.
Gift Packaging Ideas
This coconut cake makes a wonderful gift, especially for special occasions like birthdays or holidays. Consider packaging it in a beautiful cake box or wrapping it in decorative plastic wrap and tying with a ribbon. For a more rustic look, place the cake on a wooden board or cake stand and wrap with a burlap ribbon. You can also add a personal touch with a handwritten note or a small bouquet of flowers on top.
Flavor Variations
- Different spices: Try adding a pinch of salt, a teaspoon of cinnamon, or a half teaspoon of nutmeg to your batter for unique flavor profiles.
- Creative toppings: Instead of toasted coconut, top your cake with fresh fruits like strawberries or blueberries, or drizzle with caramel or chocolate sauce for a different twist.
- Ingredient swaps: Replace your granulated sugar with brown sugar for a deeper flavor, or use different types of non-dairy milk for a creamier or lighter cake.
Troubleshooting
- Texture problems: If your cake turns out too dense, it might be due to overmixing. If it’s too dry, it could be overbaked. Adjust your mixing and baking times accordingly for the next batch.
- Ingredient replacements: If you’re out of a particular ingredient, don’t hesitate to get creative with substitutions. However, keep in mind that each substitution might slightly alter the final flavor and texture of your cake.
- Over/undercooking signs: Keep an eye on your cakes while they’re baking. If they’re undercooked, they’ll be soft and possibly wet in the center. If overcooked, they’ll be dry and possibly cracked on top.
FAQs
- Can I freeze it? Yes, you can freeze your coconut cake for up to 2 months. It’s best to freeze the layers before frosting for the best texture upon thawing.
- Is it gluten-free? The recipe as written is not gluten-free due to the use of all-purpose flour. However, you can substitute the flour with a gluten-free flour blend for a gluten-free version.
- Can I double the recipe? Yes, you can easily double this recipe to make a larger cake. Just ensure you have enough pans and adjust the baking time slightly, as larger cakes take longer to cook through.
Conclusion
Making the best creamy coconut cake is all about balance – balancing flavors, textures, and the effort you put into it. With this recipe, you’re not only getting a dessert that’s sure to please any crowd, but you’re also learning valuable tips and tricks to enhance your baking skills. Don’t be afraid to experiment and make this recipe your own, whether that’s through the addition of different spices, the use of various toppings, or simply by sharing it with loved ones and enjoying the joy it brings. Happy baking, and remember, the most important ingredient in any recipe is love!