What makes a classic stuffing truly unforgettable? It all comes down to the perfect blend of homemade bread, savory herbs, and a hint of onion, all mixed together with love for a quick and easy family favorite side dish. Save this idea for your next weeknight dinner inspiration and try it soon with your loved ones.
Classic Stuffing
Introduction
The art of creating a delicious and moist classic stuffing is a cornerstone of many holiday meals, and with good reason. This timeless dish is not only incredibly easy to prepare, but it also offers a canvas of creativity, allowing you to express your culinary flair using everyday ingredients. Whether you’re a seasoned chef or a beginner in the kitchen, the classic stuffing recipe is a versatile and flavorful companion to your main course, sure to impress your family and friends. It’s all about balancing flavors, textures, and presentation, making it a true delight for the senses.
Why This Works
- Flavor balance and ingredient accessibility: The classic stuffing brings together a medley of herbs, spices, and vegetables, creating a depth of flavor that complements a variety of main dishes. The ingredients are readily available, making it accessible to cooks of all levels.
- Ease of preparation: One of the most appealing aspects of this recipe is its simplicity. With straightforward steps and minimal preparation time, you can have your stuffing ready to go into the oven in no time.
- Impressive results with minimal effort: Despite its ease, the end result is nothing short of impressive. The combination of crunchy bread, savory herbs, and the option to add meats or fruits creates a dish that’s both satisfying and visually appealing.
Key Ingredients
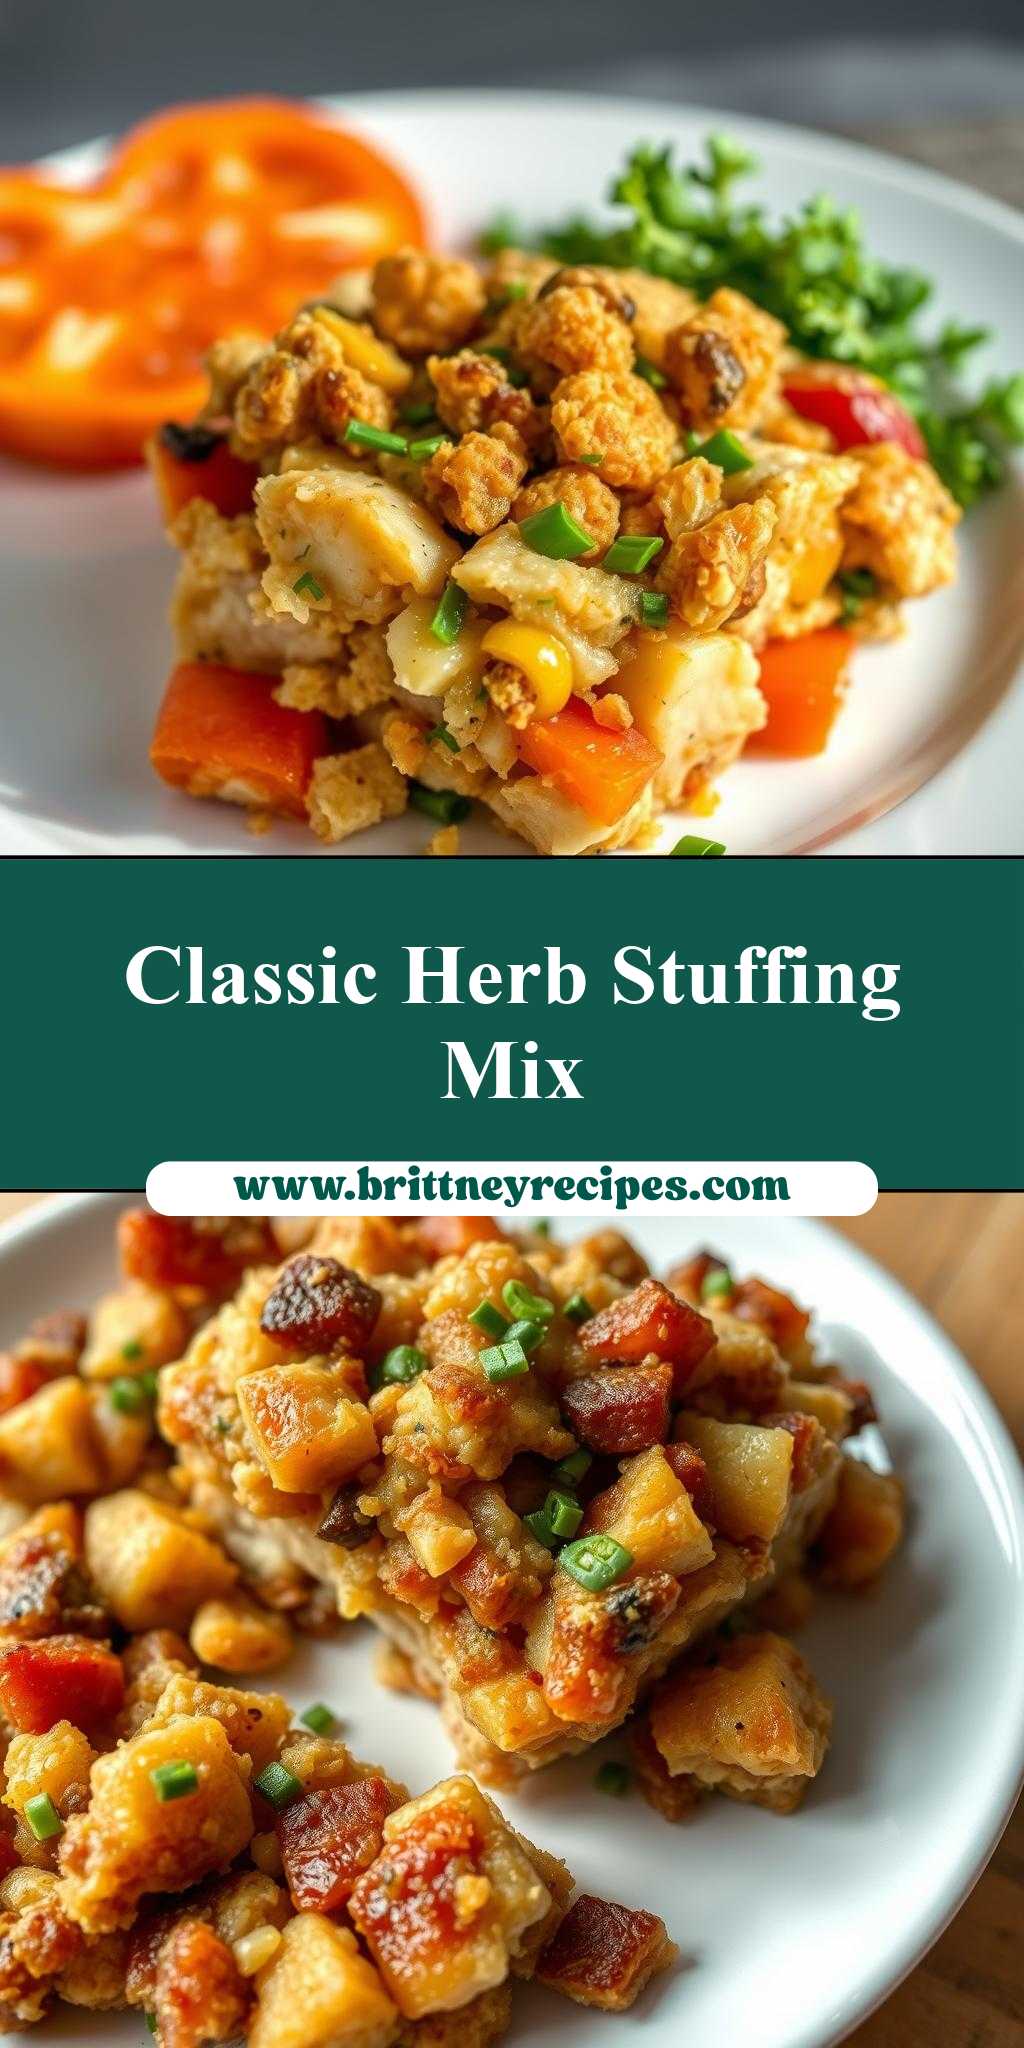
The foundation of a great classic stuffing includes cubed bread (white or whole wheat, depending on your preference), a variety of aromatic vegetables like onions, celery, and garlic, and a mix of fresh herbs such as sage, thyme, and parsley. For added moisture and flavor, chicken or vegetable broth is essential, and of course, a bit of butter or olive oil to bring everything together. Optional ingredients can include sausage, apples, or dried cranberries to give your stuffing a unique twist. Practical substitutions can be made based on dietary needs or preferences, such as using gluten-free bread or vegan broth alternatives.
Instructions
- Step 1: Begin by preparing your ingredients. Chop the onions, celery, and fresh herbs. Cut your bread into cubes and let it sit out overnight to dry slightly, which helps it absorb the flavors better.
- Step 2: In a large skillet, sauté the chopped onions, celery, and garlic in butter or olive oil until they’re softened and fragrant. Add your herbs and cook for another minute, stirring constantly to prevent burning.
- Step 3: In a large mixing bowl, combine the bread cubes, sautéed vegetable mixture, and any optional ingredients you’re using (such as sausage or apples). Pour in your broth, mixing until the bread is evenly moistened but not soggy. Season with salt and pepper to taste.
- Step 4: Transfer the stuffing mixture to a greased 9×13 inch baking dish. If cooking inside a bird, fill the cavity loosely with the prepared stuffing. Otherwise, cover the baking dish with aluminum foil and bake in a preheated oven at 350°F (175°C) for about 25-30 minutes. Remove the foil and continue baking for an additional 10-15 minutes, or until the top is lightly browned.
Handy Tips
- Always use day-old bread for the best results, as it absorbs liquid better than fresh bread. If you’re short on time, you can dry out fresh bread in a low-temperature oven for a few minutes.
- Customize your stuffing with your favorite ingredients or according to your dietary needs. For example, you can add diced meats, nuts, or dried fruits to give it a personal touch.
- Avoid overmixing the bread mixture, as this can lead to a dense stuffing. Instead, gently fold the ingredients together until they’re just combined.
Heat Control
When baking your stuffing, it’s crucial to maintain the right temperature and timing to achieve the perfect doneness. The oven should be preheated to 350°F (175°C). If you’re cooking the stuffing inside a turkey, ensure the turkey is cooked to an internal temperature of 165°F (74°C). For baking in a dish, cover the top with foil for the first 25-30 minutes to prevent drying out, then remove the foil to allow the top to brown lightly.
Crunch Factor
Achieving the right texture is key to a great stuffing. You want it to be moist and fluffy on the inside, with a crunchy, golden-brown top. To achieve this, don’t overmix the bread mixture, and make sure to brown the top lightly during the last 10-15 minutes of baking. If you prefer a crisper top, you can broil the stuffing for a minute or two, watching carefully to avoid burning.
Pro Kitchen Tricks
- For an extra crispy top, sprinkle some grated cheese or chopped nuts over the stuffing before baking.
- Consider making your stuffing in a slow cooker for a hands-off, stress-free approach. Simply mix all your ingredients, place them in the slow cooker, and cook on low for 2-3 hours.
- To enhance the flavor, use homemade broth or add a splash of wine to the mixture before baking.
Storage Tips
- Leftover stuffing can be stored in an airtight container in the refrigerator for up to 3 days. Reheat it in the oven or microwave until warmed through.
- For longer storage, freezing is a great option. Prepare the stuffing mixture up to the point of baking, then freeze it in an airtight container or freezer bag for up to 3 months. Thaw overnight in the fridge and bake as directed.
- When reheating, make sure the stuffing reaches an internal temperature of 165°F (74°C) to ensure food safety.
Gift Packaging Ideas
While stuffing is typically served as part of a meal, it can also be a thoughtful gift, especially when packaged in a charming way. Consider baking individual portions in ramekins or small cast-iron skillets, then wrapping them in decorative paper or a tea towel and tying with a ribbon. You could also package the dry ingredients in a mason jar, along with a recipe card, for a DIY stuffing kit.
Flavor Variations
- Different spices: Experiment with various spice blends, such as Italian seasoning, smoked paprika, or a Mediterranean mix, to give your stuffing a unique flavor profile.
- Creative toppings: Add some excitement to your stuffing by topping it with crispy bacon, caramelized onions, or a fried egg before serving.
- Ingredient swaps: Try using different types of bread, such as sourdough or brioche, or substitute sausage with mushrooms for a vegetarian option.
Troubleshooting
- Texture problems: If your stuffing turns out too dry, it may be due to overcooking or using too little broth. Conversely, if it’s too soggy, you might have used too much liquid or not baked it long enough.
- Ingredient replacements: Don’t be afraid to substitute ingredients based on what you have on hand or to accommodate dietary restrictions. Just be mindful of how these changes might affect the final flavor and texture.
- Over/undercooking signs: Keep an eye on your stuffing while it’s baking. If the top starts to brown too quickly, cover it with foil. If you’re unsure if it’s done, check the internal temperature or fluff it with a fork to ensure it’s heated through and fluffy.
FAQs
- Can I freeze it? Yes, you can freeze your stuffing before or after baking. It’s best to freeze it before baking for the best texture.
- Is it gluten-free? Depending on the type of bread used, stuffing can be gluten-free. Simply substitute regular bread with gluten-free bread to accommodate gluten-free diets.
- Can I double the recipe? Absolutely, you can double or even triple the recipe if you’re serving a large crowd. Just ensure you have a large enough baking dish or consider using multiple dishes.
Conclusion
Creating a classic stuffing is a rewarding culinary experience that combines simplicity with versatility, allowing you to put your own spin on this beloved dish. Whether you’re a fan of traditional flavors or like to experiment with new ingredients, the key to a great stuffing is balance—between moist and crunchy, savory and sweet. Don’t be afraid to try new things and make this recipe your own, and most importantly, enjoy the process and the joy of sharing a delicious meal with those around you.