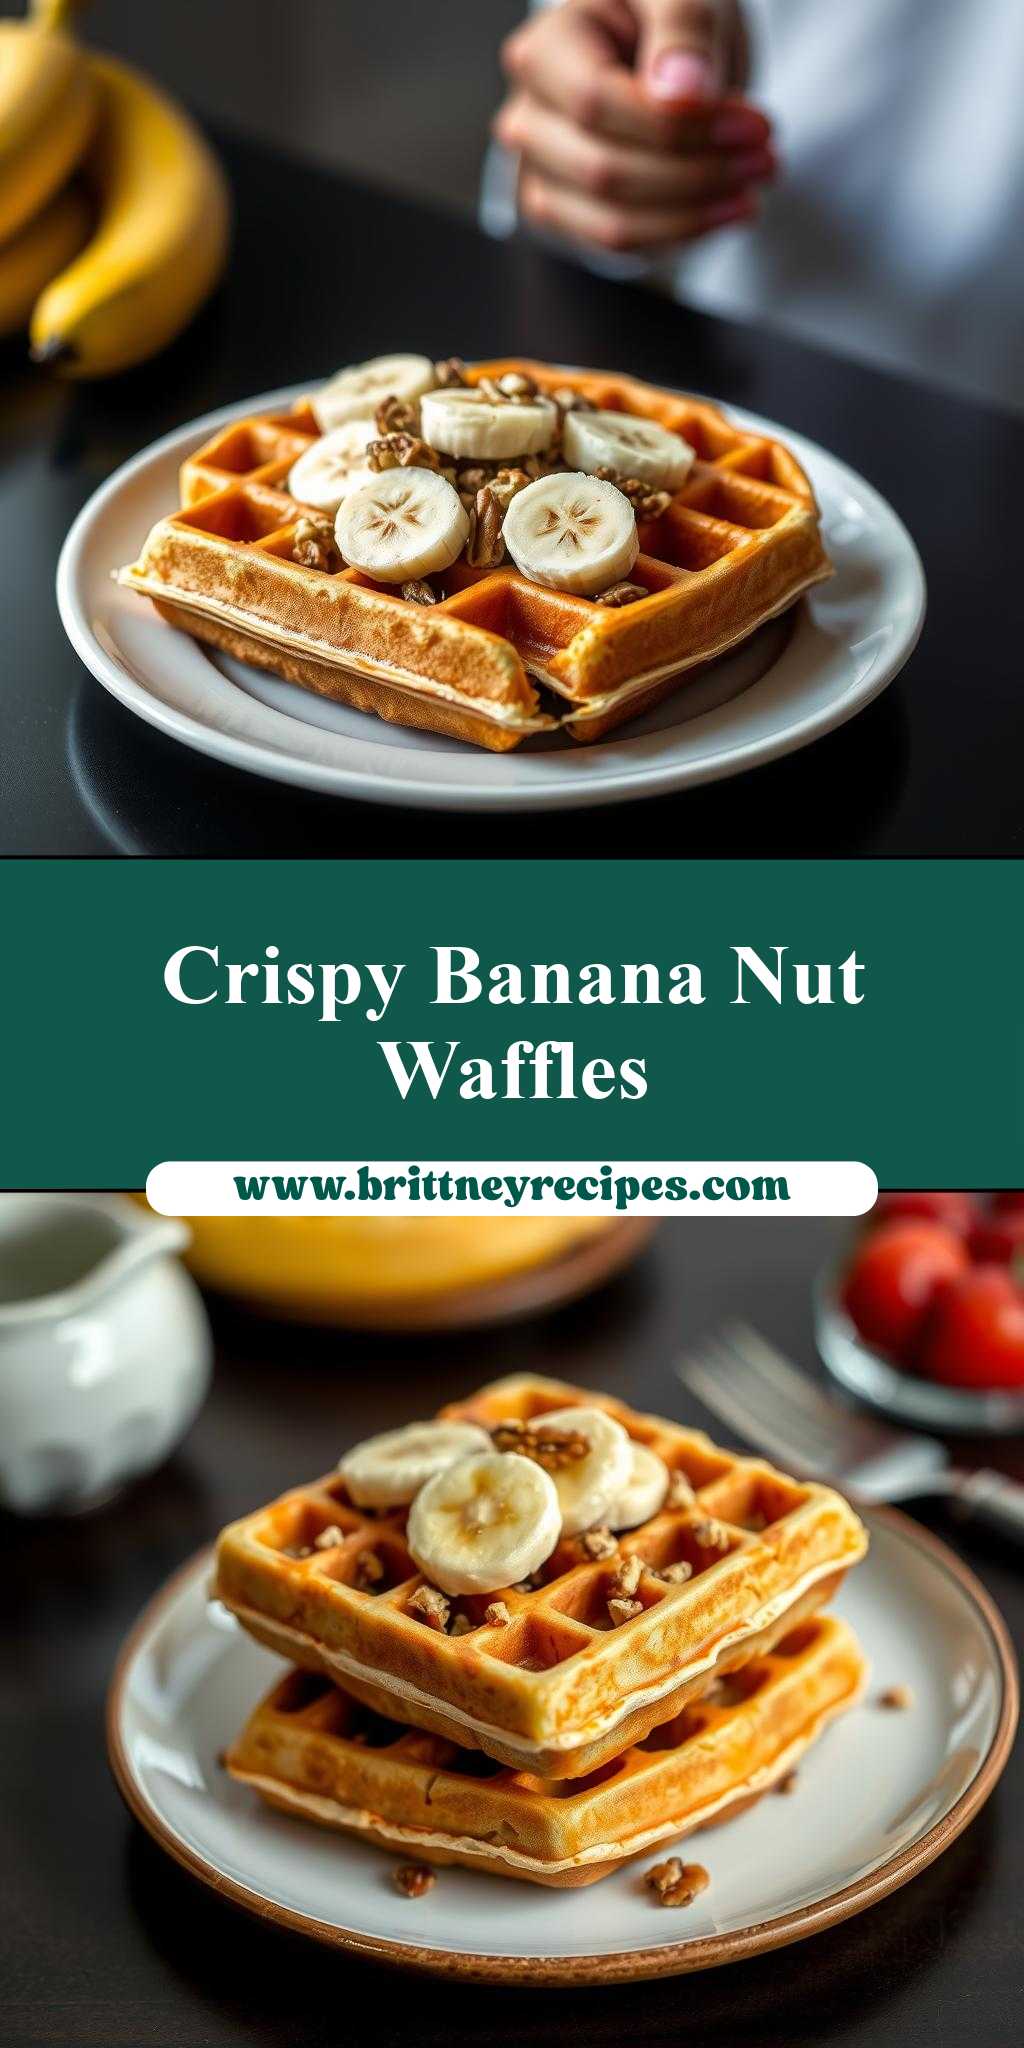
What makes the perfect weekend breakfast? A stack of fluffy banana nut waffles, made easy with homemade batter and toasted walnuts, is a quick and delicious family favorite, save this idea for a tasty homemade treat to try soon
Banana Nut Waffles
Introduction
Imagine waking up to the sweet aroma of freshly baked waffles, infused with the natural goodness of bananas and the crunch of nuts. Banana Nut Waffles are not just a delicious breakfast or brunch option, but they also represent a perfect blend of ease, flavor, and creativity, all achievable with everyday ingredients. This recipe is designed to inspire your mornings with a dish that is both comforting and exciting, perfect for family gatherings or a quiet morning treat. The beauty of Banana Nut Waffles lies in their simplicity and the room for creativity they offer, making them a favorite among both beginners and seasoned bakers.
Why This Works
- Flavor balance and ingredient accessibility: The combination of ripe bananas, nuts, and a hint of spice creates a flavor profile that is both familiar and exciting, using ingredients that are easily found in most kitchens.
- Ease of preparation: The recipe is straightforward, requiring minimal preparation time and effort, making it perfect for busy mornings or special occasions.
- Impressive results with minimal effort: Despite its simplicity, the end result is impressive and satisfying, with the waffles turning out light, fluffy, and full of flavor, sure to impress both family and guests.
Key Ingredients
The main ingredients for Banana Nut Waffles include ripe bananas, all-purpose flour, sugar, eggs, milk, melted butter, chopped nuts (such as walnuts or pecans), and a pinch of salt. For those looking for substitutions, almond milk can replace regular milk for a dairy-free option, and different types of nuts can be used based on personal preference. The bananas should be ripe for the best flavor, and using high-quality nuts will enhance the texture and taste of the waffles.
Instructions
- Step 1: Begin by preheating your waffle iron according to the manufacturer’s instructions. In a large bowl, whisk together the flour, sugar, and a pinch of salt. In a separate bowl, mash the ripe bananas with a fork until they’re smooth, then whisk in the eggs, milk, and melted butter until well combined.
- Step 2: Add the wet ingredients to the dry ingredients and stir until just combined. Do not overmix. Fold in the chopped nuts to distribute them evenly throughout the batter.
- Step 3: The batter should still be slightly lumpy. If using, add any additional flavorings such as vanilla extract now and fold them into the batter. The batter is now ready to be cooked in the waffle iron.
- Step 4: Pour an appropriate amount of batter onto the center of the waffle iron (the amount may vary depending on the size of your waffle iron) and spread it out to the edges. Close the iron and cook until the waffles are golden brown and crispy, following the manufacturer’s guidelines for cooking time. Repeat with the remaining batter, greasing the waffle iron with cooking spray or oil as needed to prevent sticking.
Handy Tips
- For an extra crispy waffle, make sure the waffle iron is hot before adding the batter. A good sign of readiness is when the iron starts to smoke slightly or the indicator light turns on.
- Don’t overmix the batter, as this can lead to tough waffles. Stop mixing as soon as the ingredients are combined.
- Experiment with different types of nuts or add-ins like chocolate chips or dried fruit to create unique flavor variations.
Heat Control
Heat control is crucial when making waffles. The ideal temperature for cooking waffles is usually medium to medium-high heat. The cooking time will depend on your waffle iron, but generally, it takes about 3 to 5 minutes to cook a waffle. Signs of doneness include a golden brown color and a crispy texture. If your waffle iron has a thermostat, use it to ensure the iron is at the right temperature. Always follow the manufacturer’s instructions for specific guidance on heat and cooking times.
Crunch Factor
The crunch factor in Banana Nut Waffles comes from the nuts and the crispy exterior of the waffle itself. To achieve the perfect crunch, ensure that your waffle iron is hot before cooking, and don’t open the iron too often during the cooking process. The nuts will add a delightful texture contrast to the softness of the banana-infused waffle. For an extra crunchy topping, you can also sprinkle some additional chopped nuts or even granola on top of the waffles before serving.
Pro Kitchen Tricks
- For easier cleanup, spray your waffle iron with cooking spray before the first use and after cooking each waffle to prevent the batter from sticking.
- Keep your waffles warm by placing them in a low-temperature oven (around 200°F) while you cook the remaining batter. This ensures that all waffles are served warm and ready to enjoy.
- Consider making a double batch of batter and freezing some for later use. Simply thaw the frozen batter overnight in the fridge or thaw it quickly by leaving it at room temperature for a few hours before use.
Storage Tips
- Leftover waffles can be stored in an airtight container at room temperature for up to 2 days or frozen for up to 2 months. To freeze, place the cooled waffles in a single layer in a freezer-safe bag or container.
- To reheat frozen waffles, simply toast them in a toaster or toaster oven until crispy and warm. You can also reheat them in the microwave, but be cautious not to overheat, as this can make the waffles soggy.
- The best containers for storing waffles are those that keep air out, such as ziplock bags or airtight containers. This will help maintain freshness and prevent the waffles from becoming stale.
Gift Packaging Ideas
Banana Nut Waffles make a wonderful gift, especially when packaged thoughtfully. Consider placing a few freshly baked waffles in a decorative tin or a paper bag tied with a ribbon. You can also include a jar of homemade syrup, honey, or fresh fruit to complement the gift. For a more substantial gift, package the waffles with a bottle of pure maple syrup, a bag of gourmet coffee, or a selection of teas, creating a lovely breakfast or brunch kit.
Flavor Variations
- Different spices: Try adding a pinch of cinnamon, nutmeg, or cardamom to the batter for a unique twist on the traditional recipe.
- Creative toppings: Besides the classic butter and maple syrup, consider topping your waffles with fresh fruits, whipped cream, caramel sauce, or even a scoop of ice cream for a decadent treat.
- Ingredient swaps: Experiment with different types of flour, such as whole wheat or oat flour, for a nuttier flavor. You can also use different types of milk or substitute some of the sugar with honey or maple syrup for a slightly different taste.
Troubleshooting
- Texture problems: If your waffles turn out too dense, it might be due to overmixing the batter. Try to mix the ingredients just until they come together. If they’re too soggy, it could be because the waffle iron wasn’t hot enough or the waffles were undercooked.
- Ingredient replacements: If you’re out of a particular ingredient, don’t be afraid to get creative with substitutions. For example, you can use applesauce instead of some of the oil for added moisture, or try using coconut sugar for a different flavor profile.
- Over/undercooking signs: Keep an eye on your waffles while they’re cooking. If they’re undercooked, they might be pale and soft. Overcooked waffles will be dark brown and possibly burnt. Adjust your cooking time as needed based on your waffle iron’s performance.
FAQs
- Can I freeze it? Yes, you can freeze both the batter and the cooked waffles. Frozen batter will keep for up to 3 months, and frozen cooked waffles will keep for up to 2 months. Simply thaw and use or reheat as needed.
- Is it gluten-free? The basic recipe includes all-purpose flour, which contains gluten. However, you can easily make a gluten-free version by substituting the flour with a gluten-free flour blend. Note that gluten-free batters might behave slightly differently, so you may need to adjust the liquid content or add xanthan gum for better texture.
- Can I double the recipe? Absolutely! Doubling the recipe is a great way to make more waffles for a larger crowd or to have extras for later. Just keep in mind that you might need to adjust the cooking time slightly if your waffle iron is smaller and you’re cooking in batches.
Conclusion
Making Banana Nut Waffles is a journey of discovery and joy, allowing you to experiment with flavors and textures while creating a delicious and satisfying meal. Whether you’re a seasoned baker or just starting out, this recipe offers a versatile canvas for your creativity. Don’t be afraid to try new ingredients, flavor combinations, or presentation ideas to make the dish truly yours. Share your creations with loved ones, and enjoy the process of cooking and the joy of giving. With its perfect balance of ease, flavor, and creativity, Banana Nut Waffles are sure to become a favorite in your household, bringing warmth and happiness to your table.