What makes the perfect indulgent treat to share with loved ones – rich, velvety chocolate truffles made with heavy cream and dark chocolate are a classic easy dessert choice that can be prepared in no time for a weeknight dinner party. Save this idea for your next family favorite dessert.
Chocolate Truffles
Introduction
Indulge in the rich, velvety world of chocolate truffles, a dessert so divine it’s a wonder it can be made with such ease and simplicity. Using everyday ingredients, you can create a treat that’s not only a delight to the taste buds but also a masterpiece of texture and presentation. The best part? This recipe allows for endless creativity, whether you’re a chocolate purist or an adventurous mixer of flavors. So, let’s dive into the wonderful world of chocolate truffles and discover how to make these bite-sized pieces of heaven.
Why This Works
- Flavor balance and ingredient accessibility make this recipe a standout. With just a few main ingredients, you can achieve a perfect harmony of tastes.
- Ease of preparation is a significant advantage. Unlike many desserts, chocolate truffles require minimal cooking and can be prepared in no time, making them perfect for last-minute treats or gifts.
- Impressive results with minimal effort are what make chocolate truffles a favorite among both beginners and experienced bakers. The process is straightforward, and the end result looks and tastes like it was made by a professional chocolatier.
Key Ingredients
The main ingredients for chocolate truffles include high-quality dark or milk chocolate, heavy cream, and butter. For those looking to make substitutions, coconut cream can be used in place of heavy cream for a dairy-free version, and different types of chocolate can be mixed for unique flavor profiles. Additionally, various flavorings such as vanilla extract, liqueurs, or spices can be added to give your truffles an extra layer of taste. Practical substitutions and creative additions can make each batch of truffles unique and tailored to your preferences.
Instructions
- Step 1: Begin by chopping your chocolate into small pieces to ensure it melts evenly. Measure out your heavy cream and have your butter ready. If adding any flavorings, now is the time to prepare them.
- Step 2: In a double boiler or a heatproof bowl set over a pot of simmering water, melt the chocolate. Once the chocolate is about half melted, remove it from the heat and stir in the heavy cream and butter until fully incorporated. If using flavorings, gently fold them into the mixture at this stage.
- Step 3: Allow the chocolate mixture to cool to room temperature. Cover it with plastic wrap, pressing the wrap directly onto the surface to prevent a skin from forming. Refrigerate the mixture for at least 2 hours or until firm.
- Step 4: Use a melon baller or a small spoon to scoop out small balls of the chocolate mixture. Roll each ball between your hands to shape into perfect truffles. If desired, roll the truffles in cocoa powder, powdered sugar, or chopped nuts to coat. Place the truffles on a baking sheet lined with parchment paper and refrigerate for another 30 minutes to set.
Handy Tips
- When melting chocolate, it’s crucial to avoid overheating, as this can cause the chocolate to seize up and become grainy. Using a double boiler is the safest method to ensure smooth, melted chocolate.
- For a lighter coating, chill your truffles before rolling them in cocoa powder or other toppings. This helps the coating adhere evenly and prevents it from clumping.
- Experiment with different types of chocolate and flavorings to find your favorite combinations. From classic dark chocolate truffles to innovative matcha or orange-infused ones, the possibilities are endless.
Heat Control
Heat control is crucial when making chocolate truffles, especially during the melting process. Ideally, you want to melt the chocolate gently, avoiding any direct heat. A double boiler or a microwave-safe bowl in short increments (stirring between each interval) can be used. The chocolate should be melted until smooth and creamy, not hot or bubbly. If you notice the chocolate starting to seize or become too thick, you can try adding a small amount of shortening like coconut oil or butter to thin it out, but this should be done with caution to avoid altering the flavor or texture significantly.
Crunch Factor
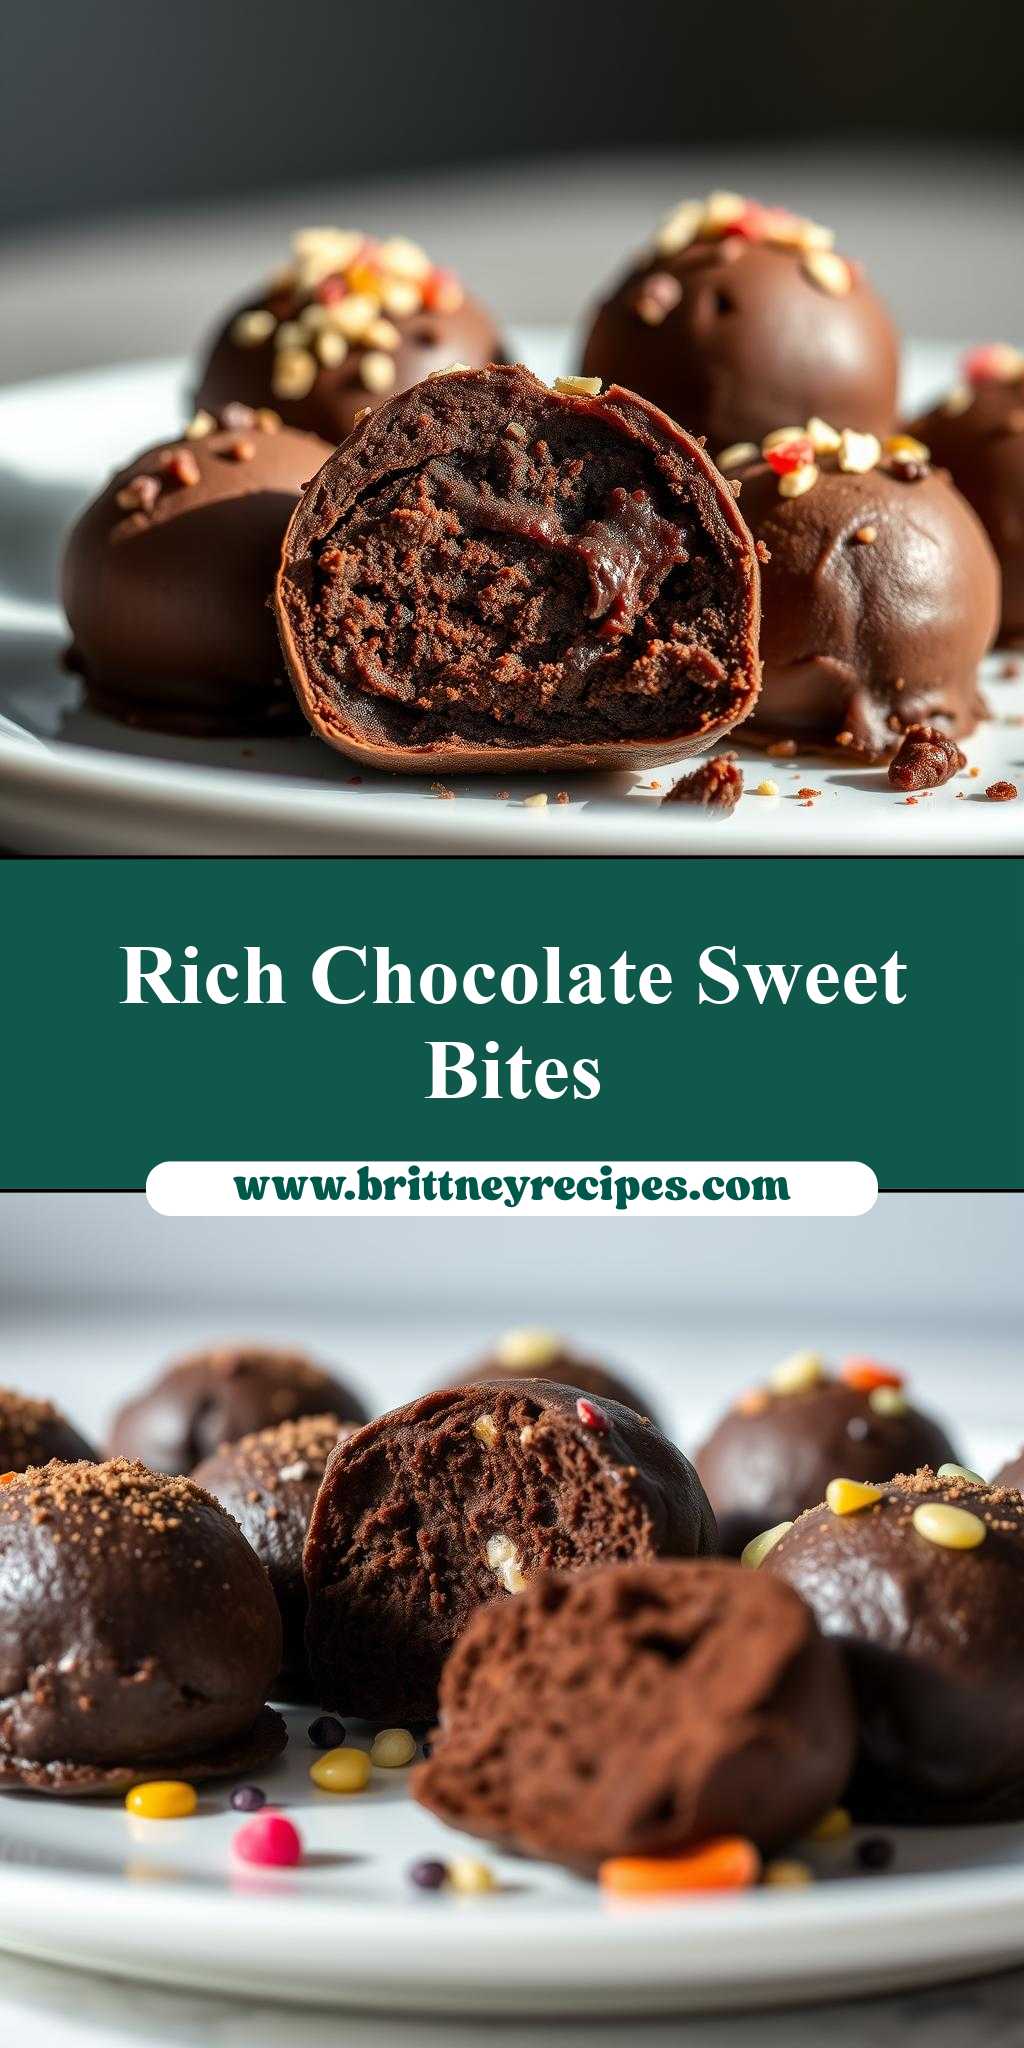
The desired texture of chocolate truffles is typically smooth and creamy on the inside with a delicate crunch or dusting on the outside from the coating. To achieve this, ensure your truffles are well chilled before coating. For an extra crunch, you can roll them in chopped nuts, cocoa nibs, or even crushed cookies. The key is to find a balance between the soft, velvety interior and the crunchy exterior, making each bite a delightful surprise.
Pro Kitchen Tricks
- For a professional finish, use high-quality chocolate. The better the chocolate, the richer and more complex the flavor of your truffles will be.
- To make your truffles more visually appealing, consider using a variety of coatings such as powdered sugar, cocoa powder, or melted chocolate. You can also drizzle melted chocolate over the truffles in patterns for an extra decorative touch.
- Keep your workspace cool and dry. Chocolate can be temperamental, and high temperatures or humidity can cause it to bloom (develop a white, chalky coating) or become too soft to work with.
Storage Tips
- Chocolate truffles are best stored in an airtight container in the refrigerator. They can be kept for up to two weeks when stored properly.
- For longer storage, truffles can be frozen. Place them in a single layer in an airtight container or freezer bag and store in the freezer for up to two months. Allow the truffles to come to room temperature before serving.
- When storing truffles, it’s essential to keep them away from strong-smelling foods, as chocolate can absorb odors easily.
Gift Packaging Ideas
Chocolate truffles make exquisite gifts, especially when beautifully packaged. Consider placing them in decorative tins, gift boxes, or jars. You can also wrap them individually in colored foil or paper and place them in a gift bag. For a more rustic look, use small muslin bags or wrap the truffles in parchment paper and tie with a ribbon. Adding a personal touch, such as a handwritten note or a small decorative element, can make the gift even more special.
Flavor Variations
- Different spices like cinnamon, nutmeg, or cayenne pepper can add a unique twist to your truffles. Start with a small amount and taste as you go, adjusting the seasoning to your liking.
- Creative toppings such as sea salt, chopped nuts, or shredded coconut can provide a delightful contrast in texture and flavor.
- Ingredient swaps like using white chocolate instead of dark or adding a teaspoon of instant coffee powder can significantly alter the flavor profile of your truffles.
Troubleshooting
- Texture problems, such as truffles that are too soft or too hard, can often be solved by adjusting the chilling time or the amount of cream used in the mixture.
- Ingredient replacements should be done thoughtfully. For example, substituting milk chocolate for dark chocolate will result in a sweeter truffle, while using coconut cream will give a dairy-free version.
- Over/undercooking signs are less relevant in this no-bake recipe, but ensuring the chocolate is melted smoothly and the mixture is chilled sufficiently is crucial for the right texture.
FAQs
- Can I freeze it? Yes, chocolate truffles can be frozen for up to two months. Simply place them in an airtight container or freezer bag and thaw at room temperature when you’re ready to serve.
- Is it gluten-free? This recipe is naturally gluten-free, making it a great option for those with gluten intolerance or sensitivity.
- Can I double the recipe? Yes, the recipe can be easily doubled or tripled. Just ensure you have enough space in your refrigerator to chill the mixture and enough coatings for the increased number of truffles.
Conclusion
Making chocolate truffles is a journey of discovery and creativity, allowing you to experiment with flavors, textures, and presentations. Whether you’re a seasoned chocolatier or a beginner in the kitchen, this recipe offers a straightforward and rewarding experience. So, don’t be afraid to get creative, share your truffles with friends and family, and enjoy the process of making something truly special. With these tips, tricks, and variations, you’re well on your way to becoming a truffle-making master, spreading joy and chocolatey goodness wherever you go.