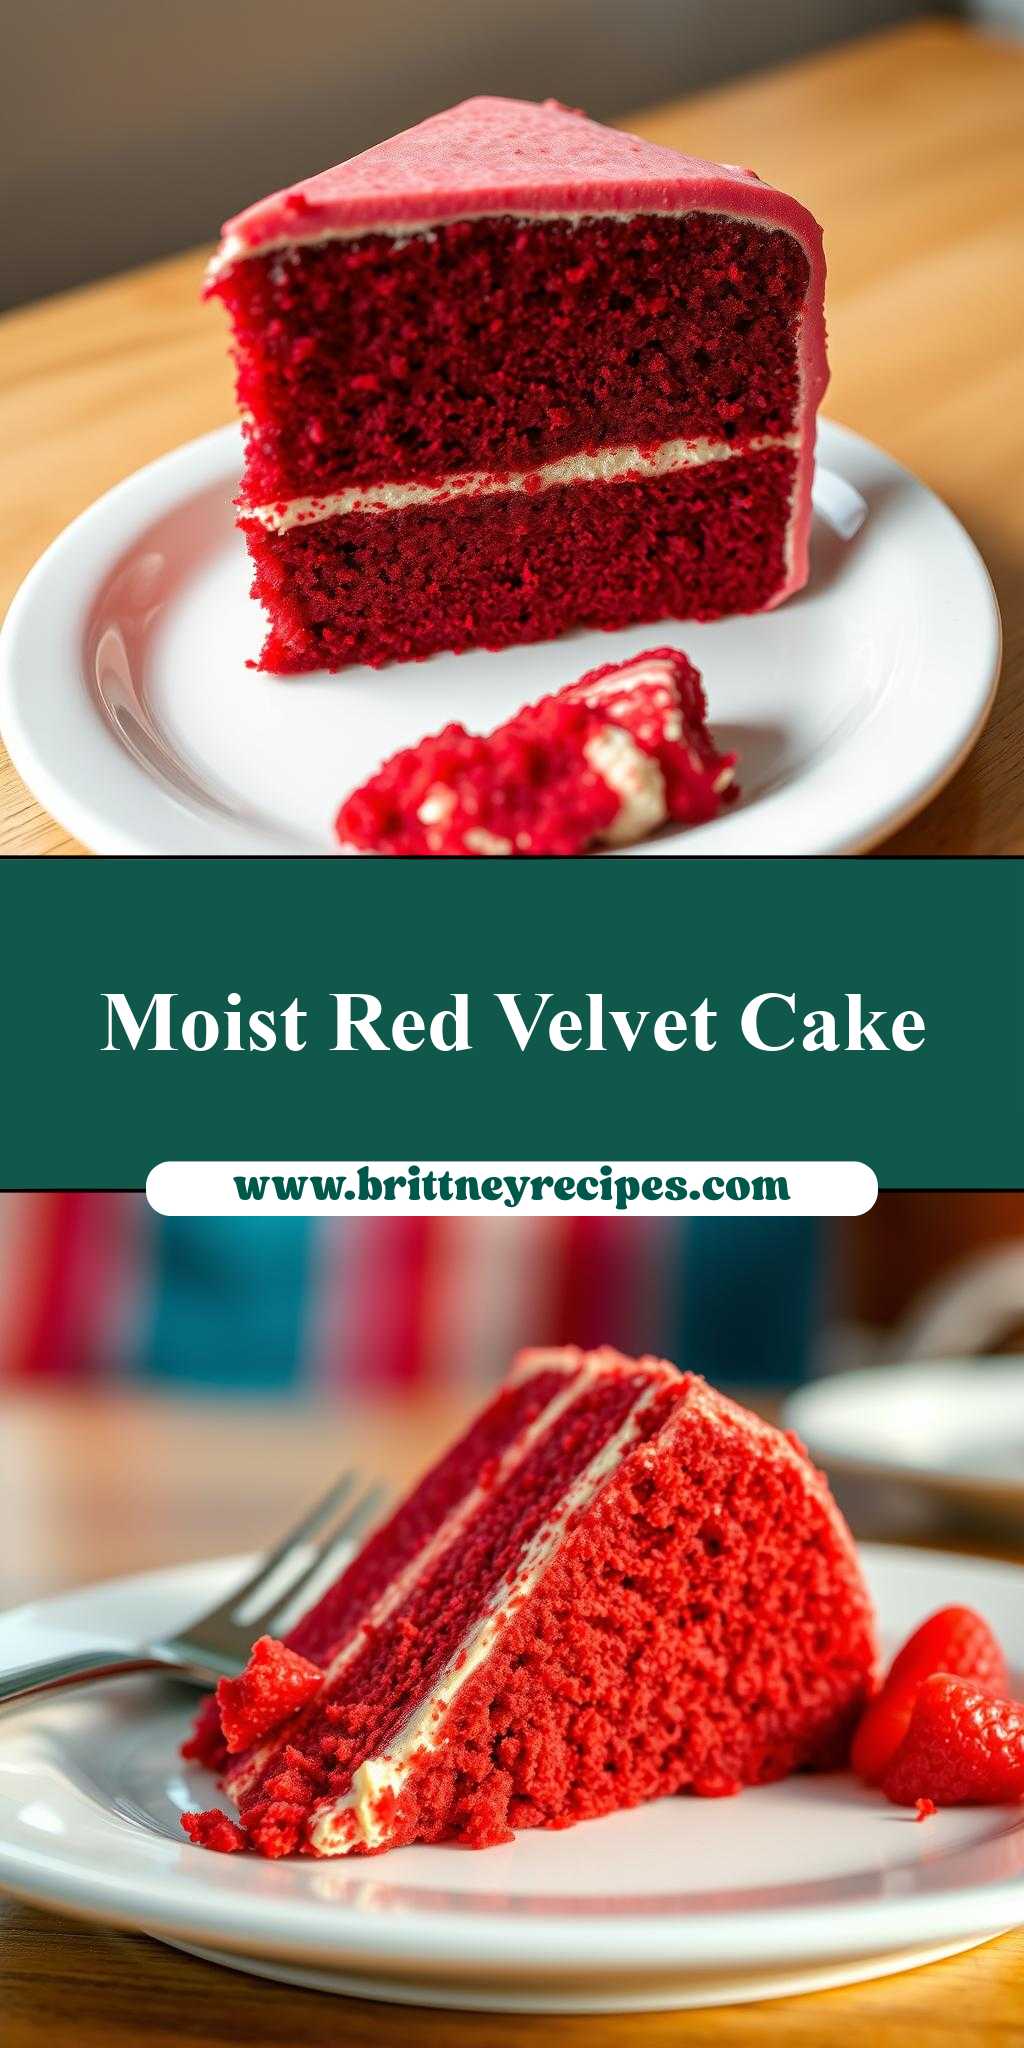
What makes a red velvet cake truly unforgettable? It’s the combination of moist buttermilk, rich cocoa powder and a hint offood coloring that gives it that signature look. This easy homemade recipe is a family favorite, perfect for weeknight dinner desserts or special occasions. Save this idea for your next baking project and try it soon.
Red Velvet Cake
Introduction
Imagine a cake that combines the deep, rich flavor of chocolate with the subtle tang of buttermilk, all wrapped up in a vibrant red hue that’s sure to impress. Welcome to the world of Red Velvet Cake, a dessert so divine it’s perfect for any occasion, from birthdays and weddings to simple Sunday afternoons. What makes this cake truly special is its accessibility – using everyday ingredients, you can create a masterpiece that’s both moist and flavorful, with a creativity that knows no bounds. Whether you’re a seasoned baker or just starting out, this recipe is designed to guide you through the process with ease, ensuring that your Red Velvet Cake turns out nothing short of spectacular.
Why This Works
- Flavor balance and ingredient accessibility: The combination of cocoa powder, buttermilk, and food coloring creates a unique taste experience that’s both familiar and exciting, using ingredients that are readily available in most grocery stores.
- Ease of preparation: Despite its impressive appearance, the Red Velvet Cake is surprisingly straightforward to make, requiring minimal specialized equipment or baking expertise.
- Impressive results with minimal effort: The dramatic red color and velvety texture of the cake are sure to impress friends and family, making it an ideal choice for those looking to make a statement without spending hours in the kitchen.
Key Ingredients
The Red Velvet Cake recipe centers around several key ingredients, each playing a crucial role in its signature flavor and appearance. These include all-purpose flour, granulated sugar, unsweetened cocoa powder, buttermilk, large eggs, red food coloring, and cream cheese for the frosting. For those looking for substitutions, almond milk or soy milk can replace buttermilk, and vegan cream cheese alternatives can be used for a dairy-free version. Understanding the role of each ingredient is essential to achieving the perfect balance of flavors and textures in your cake.
Instructions
- Step 1: Begin by preheating your oven to 350°F (180°C). Prepare two 9-inch (23cm) round cake pans by greasing them and lining the bottoms with parchment paper. In a medium bowl, whisk together flour, sugar, cocoa powder, and salt. In a large bowl, using an electric mixer, beat the eggs until they become light and fluffy, then add the buttermilk, oil, and vanilla extract, mixing well. Gradually add the dry ingredients to the wet ingredients, mixing until just combined. Finally, add the red food coloring and mix until the batter is evenly colored.
- Step 2: Divide the batter evenly between the prepared pans and smooth the tops. Bake for about 30-35 minutes or until a toothpick inserted in the center comes out clean. Let the cakes cool in the pans for 10 minutes before transferring them to a wire rack to cool completely.
- Step 3: To make the cream cheese frosting, beat the cream cheese and butter until smooth. Gradually add the powdered sugar, beating until smooth and creamy. Add the vanilla extract and mix well. Once the cakes are completely cool, you can frost and assemble them. Place one cake layer on a serving plate and spread a thick layer of frosting on top. Place the second cake layer on top and frost the entire cake with the remaining frosting.
- Step 4: For the final touches, you can decorate the cake as desired. Traditional decorations include walnuts or pecans on top, but feel free to get creative with your design. Whether you’re adding intricate patterns with frosting or simply dusting the top with powdered sugar, the key is to have fun and make the cake your own.
Handy Tips
- Always use room temperature ingredients for the best results in baking. This ensures that your cake will mix smoothly and evenly, leading to a better texture in the finished product.
- Don’t overmix the batter, as this can lead to a dense cake. Mix your ingredients just until they come together in a smooth, consistent batter.
- For an extra moist cake, try adding an extra tablespoon or two of buttermilk. Just be careful not to add too much, as this can make the cake overly wet and prone to breaking.
Heat Control
When baking the Red Velvet Cake, it’s crucial to maintain the right temperature to ensure that the cake cooks evenly and thoroughly. The ideal temperature is 350°F (180°C), and the cakes should be baked for 30-35 minutes. To check for doneness, insert a toothpick into the center of each cake. If the toothpick comes out clean, the cakes are ready. If not, give them a few more minutes and check again. Proper heat control is key to achieving the perfect texture and structure in your cake.
Crunch Factor
The Red Velvet Cake is known for its velvety texture, which is achieved through the use of buttermilk and the right balance of ingredients. To ensure your cake turns out tender and moist, avoid overbaking and make sure to not overmix the batter. The crunch factor in this recipe can be enhanced by adding nuts like walnuts or pecans to the batter or using them as a topping for added texture and flavor.
Pro Kitchen Tricks
- Use high-quality cocoa powder for the best flavor. Dutch-processed cocoa powder gives a deeper, richer flavor that’s perfect for Red Velvet Cake.
- Invest in a good set of cake pans. Non-stick pans or pans coated with parchment paper can help prevent the cakes from sticking and make them easier to remove once they’re baked.
- For a professional finish, make sure your frosting is at room temperature before assembling the cake. This will make it easier to spread and will result in a smoother, more even finish.
Storage Tips
- Once assembled, the Red Velvet Cake can be stored at room temperature for up to 2 days. It’s best to keep it in an airtight container to preserve freshness and moisture.
- For longer storage, consider refrigerating the cake. It can be kept in the fridge for up to 5 days. Let it come to room temperature before serving for the best flavor and texture.
- Freezing is also an option. Wrap the cake tightly in plastic wrap or aluminum foil and place it in a freezer-safe bag. Frozen cake can be stored for up to 2 months. Thaw frozen cake overnight in the refrigerator before serving.
Gift Packaging Ideas
If you’re planning to gift your Red Velvet Cake, consider packaging it in a decorative cake box or a large, sturdy tin. You can also wrap the cake in plastic wrap or aluminum foil and then in a layer of decorative paper or fabric, finished with a ribbon or bow. For a more rustic look, place slices of the cake in mason jars, top with a dollop of whipped cream or a sprinkle of powdered sugar, and tie the jar with a ribbon. Whatever method you choose, the key is to make it look appealing and appetizing, reflecting the love and care that went into baking the cake.
Flavor Variations
- Different spices: Try adding a pinch of cinnamon, nutmeg, or cardamom to the batter for a unique twist on the traditional recipe.
- Creative toppings: Instead of the traditional cream cheese frosting, consider topping your cake with a lightly sweetened whipped cream, a drizzle of chocolate glaze, or even a sprinkle of sea salt for a salty-sweet contrast.
- Ingredient swaps: For a gluten-free version, substitute the all-purpose flour with a gluten-free flour blend. You can also use different types of milk or yogurt to change the flavor profile of the cake.
Troubleshooting
- Texture problems: If your cake turns out too dense, it may be due to overmixing the batter. If it’s too dry, it could be overbaked. Adjust your mixing and baking times accordingly for the best results.
- Ingredient replacements: If you’re missing an ingredient, don’t be afraid to get creative with substitutions. Just remember that substituting ingredients can sometimes affect the final texture and flavor of the cake.
- Over/undercooking signs: Keep an eye on your cakes while they’re baking. If they’re undercooked, they’ll be soggy in the center. If they’re overcooked, they’ll be dry and possibly cracked on top. Adjust your baking time as needed to achieve the perfect doneness.
FAQs
- Can I freeze it? Yes, the Red Velvet Cake can be frozen for up to 2 months. Wrap it tightly to prevent freezer burn and thaw overnight in the refrigerator when you’re ready to serve.
- Is it gluten-free? Not in its traditional form, but you can make it gluten-free by substituting the all-purpose flour with a gluten-free flour blend.
- Can I double the recipe? Yes, you can double the recipe to make a larger cake. Just keep in mind that you may need to adjust the baking time slightly for the larger cakes.
Conclusion
Baking a Red Velvet Cake is a journey of discovery and creativity, offering a unique blend of flavors and textures that are sure to delight both you and your guests. With its deep red color, moist texture, and creamy frosting, this cake is a true showstopper. Whether you’re a seasoned baker looking for a new challenge or a beginner seeking a recipe to impress, the Red Velvet Cake is an excellent choice. So go ahead, get baking, and don’t be afraid to experiment and make this recipe your own. Happy baking!