What makes a classic sugar cookie truly unforgettable? It’s all about the royal icing and a homemade touch. With just a few simple ingredients like powdered sugar and butter, you can create a quick and easy family favorite that’s perfect for a weeknight treat. Save this idea for a sweet surprise anytime.
Sugar Cookies with Royal Icing
Introduction
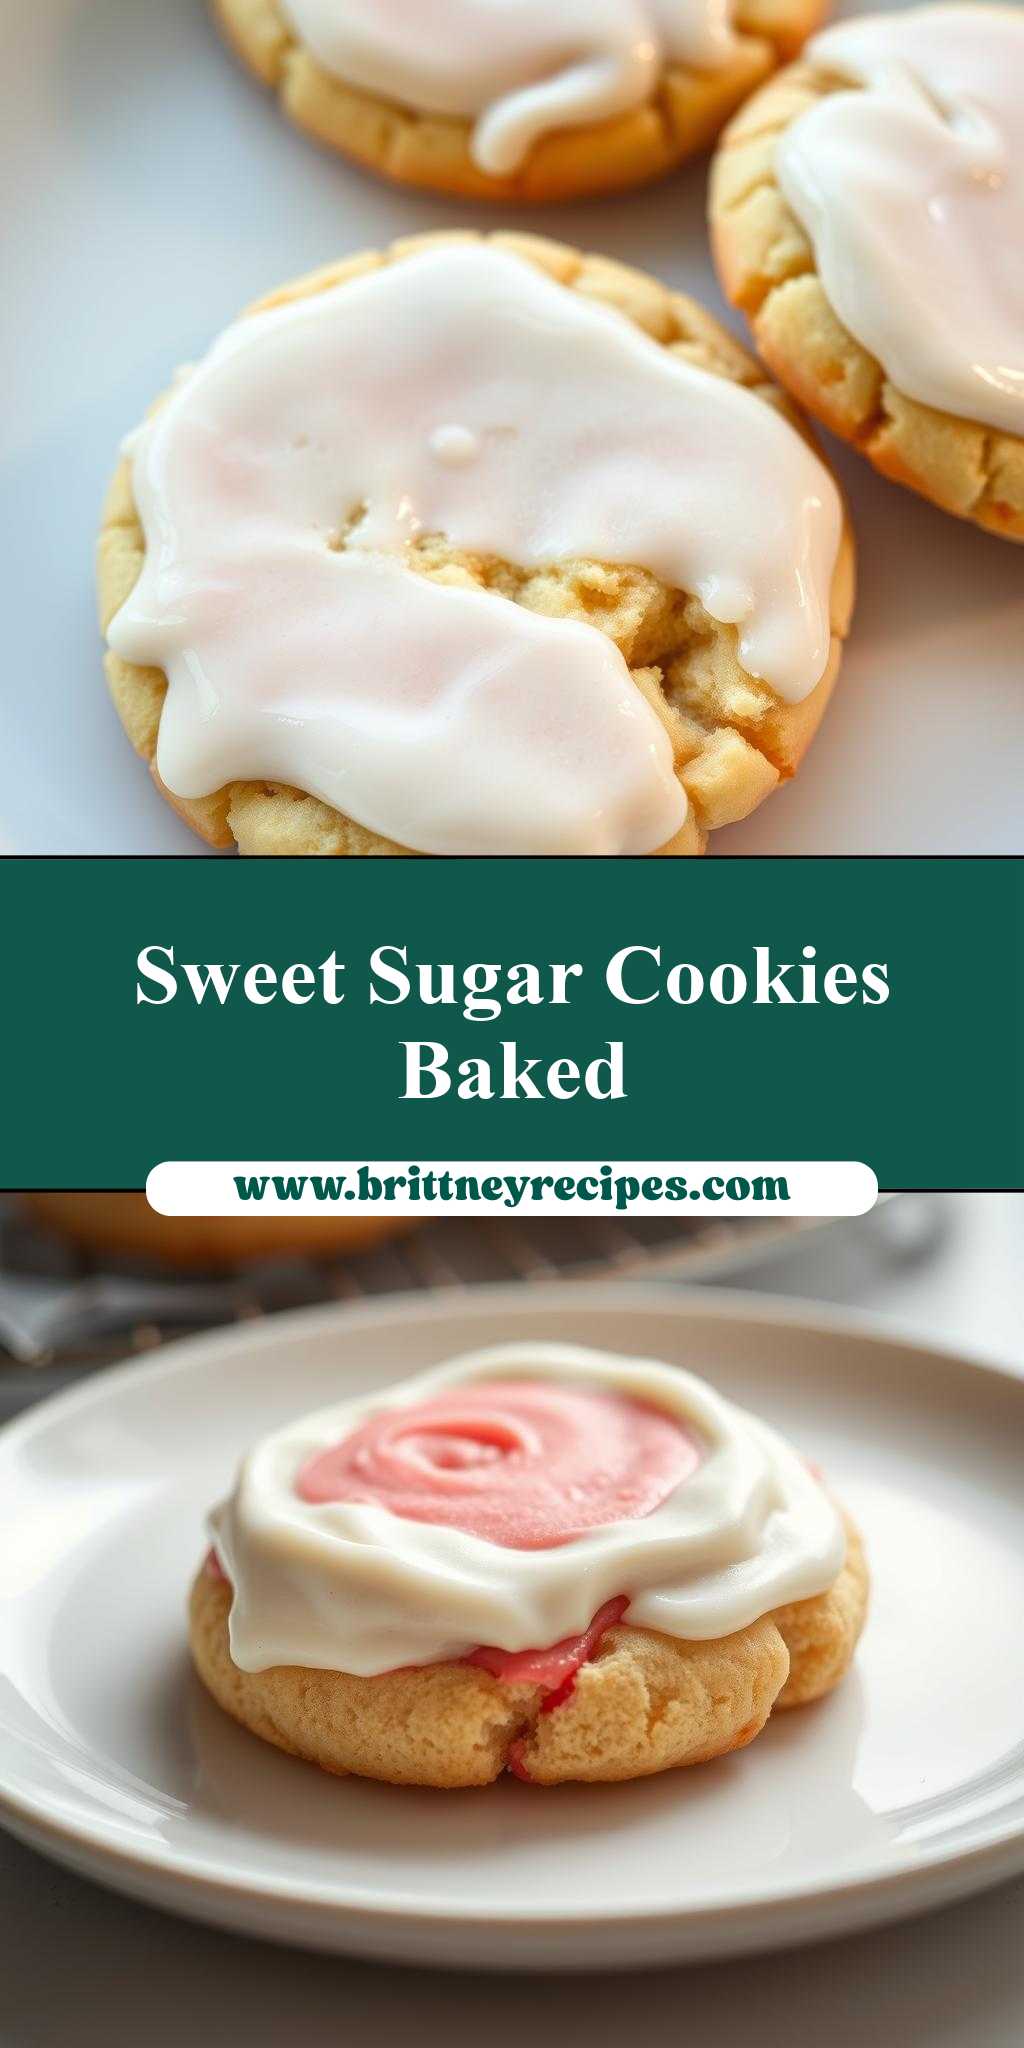
Sugar cookies with royal icing are a classic treat that combines the simplicity of everyday ingredients with the creativity of colorful designs. These cookies are perfect for any occasion, from birthday parties to holiday gatherings, and can be made with minimal effort, thanks to their straightforward recipe. What sets them apart is not just their delicious flavor, but also the endless possibilities for customization, allowing you to unleash your creativity and make each cookie truly unique. With this recipe, you’ll learn how to make both the cookies and the royal icing from scratch, ensuring that your treats are not only visually appealing but also taste wonderful.
Why This Works
- Flavor balance and ingredient accessibility: The combination of sugar, butter, eggs, and flour creates a perfectly balanced taste that is both sweet and savory, using ingredients that are readily available in most kitchens.
- Ease of preparation: The steps to make both the sugar cookies and the royal icing are simple and straightforward, requiring no special equipment beyond what you likely already have at home.
- Impressive results with minimal effort: Despite the simplicity of the recipe, the end result is impressive, especially once you decorate the cookies with royal icing, making them perfect for special occasions or as a gift.
Key Ingredients
The main ingredients for the sugar cookies include all-purpose flour, baking powder, baking soda, salt, granulated sugar, unsalted butter, eggs, and vanilla extract. For the royal icing, you’ll need powdered sugar, meringue powder, and water. Practical substitutions include using salted butter and omitting the added salt, or replacing the granulated sugar with brown sugar for a slightly different flavor. For the royal icing, ensuring the meringue powder is fresh is crucial for the icing to set properly.
Instructions
- Step 1: Begin by preheating your oven to 375°F (190°C). Prepare your baking sheets by lining them with parchment paper. In a medium-sized bowl, whisk together the flour, baking powder, baking soda, and salt. Set aside.
- Step 2: In a large bowl, use an electric mixer to cream together the sugar and butter until light and fluffy. Beat in the eggs one at a time, followed by the vanilla extract. Gradually mix in the dry ingredients until a dough forms. Wrap the dough in plastic wrap and refrigerate for at least 30 minutes.
- Step 3: On a lightly floured surface, roll out the dough to about 1/4 inch thickness. Cut into desired shapes using cookie cutters. Place the cookies on the prepared baking sheets, leaving about 1 inch of space between each cookie. Bake for 10-12 minutes or until the edges are lightly golden. Allow the cookies to cool on the baking sheet for 5 minutes before transferring them to a wire rack to cool completely.
- Step 4: To make the royal icing, combine the powdered sugar, meringue powder, and a small amount of water in a bowl. Mix with an electric mixer until smooth and stiff peaks form. Add more water as needed to achieve the desired consistency for piping. Divide the icing into smaller bowls if you wish to color it with food dye. Use the royal icing to decorate the cooled cookies as desired.
Handy Tips
- Ensure your butter is at room temperature for easier mixing. If you’re short on time, you can soften the butter in the microwave in 10-second increments, checking until it’s ready.
- Avoid overmixing the dough, as this can lead to tough cookies. Stop mixing once the ingredients come together in a cohesive ball.
- For the royal icing, it’s crucial to not add too much water, as this can make the icing too thin and difficult to work with. Add the water slowly and mix well between additions.
Heat Control
For baking the sugar cookies, maintaining the oven at 375°F (190°C) is essential. The cookies are done when the edges are lightly golden. This should take about 10-12 minutes, but keep an eye on them, as oven temperatures can vary. It’s also important to not overbake, as this can make the cookies dry and less flavorful.
Crunch Factor
The sugar cookies should have a slight crunch on the edges and be tender in the center. This texture is achieved by not overbaking the cookies and ensuring they cool properly. The royal icing, once set, adds a nice firmness to the cookies, balancing out the texture.
Pro Kitchen Tricks
- Chill the dough: Allowing the dough to rest in the refrigerator for at least 30 minutes helps the flour to absorb the liquid ingredients fully, resulting in a better texture.
- Use parchment paper: This makes removing the cookies from the baking sheet much easier and reduces the risk of them breaking.
- Invest in a cookie scoop: For uniform cookies, a cookie scoop can be a valuable tool, ensuring that each cookie is the same size, which helps them bake evenly.
Storage Tips
- Store the cookies in an airtight container at room temperature for up to 5 days. If you live in a humid climate, consider storing them in the refrigerator to keep them fresh for longer.
- Undecorated cookies can be frozen for up to 2 months. Simply place them in a single layer in a freezer-safe bag or container and thaw at room temperature when you’re ready to decorate.
- Decorated cookies with royal icing should not be refrigerated, as the moisture can cause the icing to become sticky. However, they can be stored in an airtight container at room temperature for up to 3 days.
Gift Packaging Ideas
Sugar cookies with royal icing make wonderful gifts, especially during the holidays. Consider packaging them in decorative tins, jars, or boxes lined with parchment paper or wax paper. You can also wrap individual cookies in cellophane bags and tie them with ribbon for a more personalized touch. Adding a handwritten note or a small gift tag can make the gift even more special.
Flavor Variations
- Different spices: Try adding a pinch of cinnamon, nutmeg, or cardamom to the dough for a unique flavor twist.
- Creative toppings: Before the royal icing sets, you can sprinkle the cookies with edible glitter, nonpareils, or small candies for extra decoration.
- Ingredient swaps: Replace the vanilla extract with almond extract for a different flavor profile, or use brown sugar instead of granulated sugar for a slightly deeper taste.
Troubleshooting
- Texture problems: If your cookies turn out too hard, they may have been overbaked. If they’re too soft, they might not have held their shape well due to overmixing the dough.
- Ingredient replacements: Always try to use the ingredients called for in the recipe for the best results. However, if you need to make substitutions, do so with caution and in small increments to test the outcome.
- Over/undercooking signs: Keep an eye on your cookies while they’re baking. They’re done when the edges are lightly golden. If you prefer a chewier cookie, bake for 8-10 minutes. For a crisper cookie, bake for 12-14 minutes.
FAQs
- Can I freeze it? Yes, you can freeze the undecorated cookies for up to 2 months. It’s recommended to freeze them before decorating to preserve the texture and freshness.
- Is it gluten-free? No, this recipe includes all-purpose flour and is not gluten-free. However, you can experiment with gluten-free flours, keeping in mind that the texture and flavor might be slightly different.
- Can I double the recipe? Yes, you can double the recipe, but be cautious not to overmix the dough. Also, keep in mind that you may need to adjust the baking time slightly if you’re making a larger batch of cookies.
Conclusion
Making sugar cookies with royal icing is a fun and rewarding process that can be enjoyed by the whole family. With these simple steps and handy tips, you’re well on your way to creating beautiful and delicious treats. Don’t be afraid to experiment with different flavors and decorations to make your cookies truly unique. Whether you’re a seasoned baker or just starting out, this recipe is sure to become a favorite. So go ahead, get creative, and enjoy the process of making something special with your own hands.