What makes a cake truly decadent? Rich chocolate and creamy peanut butter come together in perfect harmony in this moist and indulgent homemade velvet cake, made with simple easy mixing methods and featuring peanut butter as the star ingredient, save this idea for your next special occasion dessert.
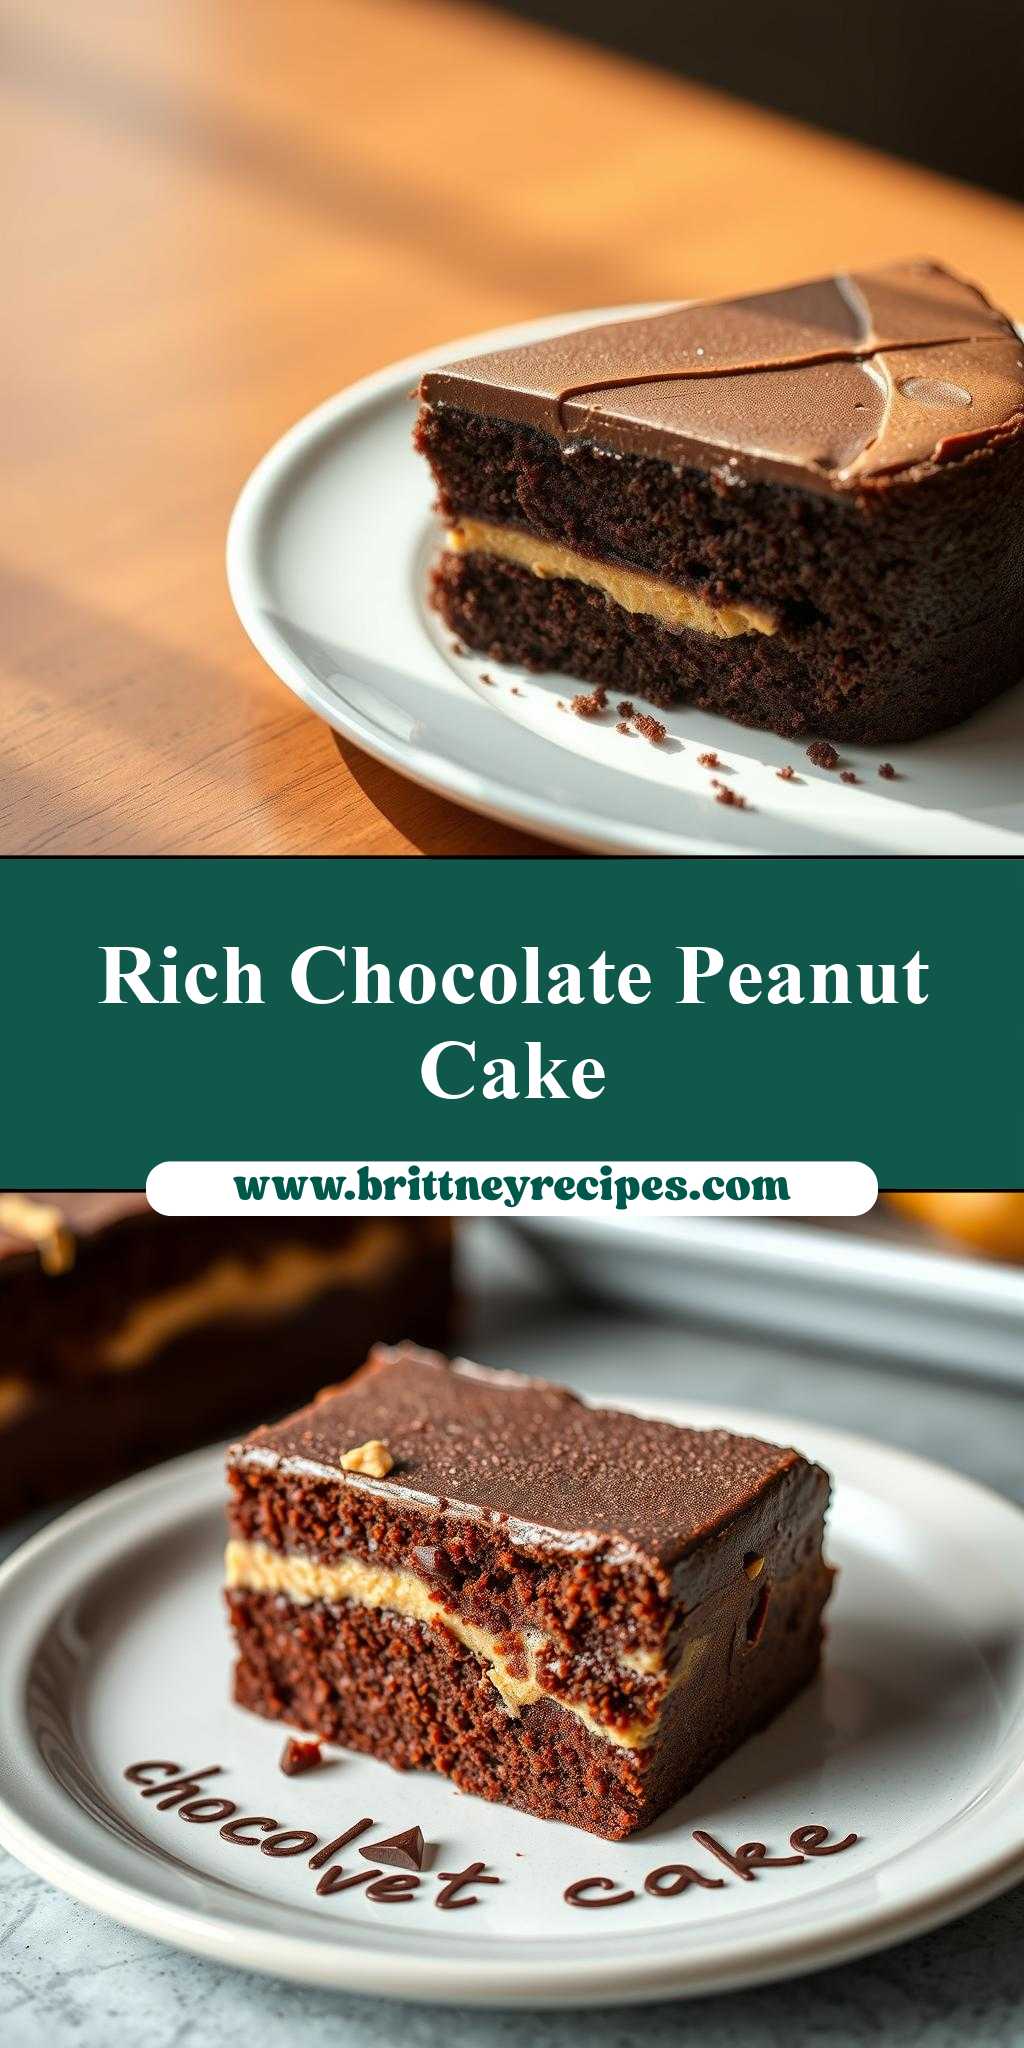
chocolate peanut butter velvet cake on a plate with the words, chocolate peanut butter velvet cake
Introduction
Imagine a rich, velvety cake that combines the deep flavors of chocolate and peanut butter, presented in a visually stunning way with the words “chocolate peanut butter velvet cake” beautifully written on the plate. This dessert is not only a treat for the taste buds but also a masterpiece of presentation. The best part? It’s surprisingly easy to make, requiring just a few everyday ingredients and some basic kitchen equipment. The combination of chocolate and peanut butter is a classic for a reason – it’s both decadent and comforting, making it perfect for special occasions or a cozy night in. With this recipe, you’ll learn how to create a truly impressive dessert that’s sure to wow your friends and family, all while having fun with the creative process of making it.
Why This Works
- Flavor balance and ingredient accessibility: The recipe strikes a perfect balance between the richness of chocolate and the nutty flavor of peanut butter, using ingredients that are easily found in most supermarkets.
- Ease of preparation: Despite its impressive appearance, the cake is relatively straightforward to prepare, with steps that are easy to follow and require minimal specialized equipment.
- Impressive results with minimal effort: The end result is a cake that looks and tastes like it was made by a professional, but can be achieved with minimal fuss and effort, making it perfect for those who want to impress without spending hours in the kitchen.
Key Ingredients
The main ingredients for this cake include high-quality dark chocolate for the deepest flavor, creamy peanut butter for the velvety texture, all-purpose flour as the base, granulated sugar to balance the bitterness of the chocolate, unsalted butter for moisture, large eggs for structure, vanilla extract for a hint of sweetness, and salt to enhance the flavors. For the writing on the plate, you’ll need chocolate syrup or melted chocolate and a piping bag or a ziplock bag with a corner cut off. Practical substitutions can be made for some ingredients, such as using milk chocolate instead of dark for a sweeter taste or almond butter for a different nutty flavor.
Instructions
- Step 1: Begin by preheating your oven to 350°F (175°C). Prepare your cake pans by greasing them and lining the bottoms with parchment paper. In a medium bowl, whisk together flour, sugar, and salt. In a large mixing bowl, combine peanut butter, butter, and vanilla extract, mixing until smooth.
- Step 2: Add eggs one at a time to the peanut butter mixture, beating well after each addition. Gradually add the flour mixture to the wet ingredients, mixing until just combined. Melt the chocolate and allow it to cool slightly, then fold it into the cake batter until well incorporated.
- Step 3: Divide the batter evenly between the prepared pans and smooth the tops. Bake for about 25-30 minutes or until a toothpick inserted into the center comes out clean. Let the cakes cool in the pans for 5 minutes before transferring them to a wire rack to cool completely.
- Step 4: Once the cakes are cool, you can assemble the cake. Place one layer on a serving plate and spread a layer of peanut butter frosting on top. Place the second layer on top and frost the entire cake with the remaining frosting. For the final touch, melt some chocolate and use it to write “chocolate peanut butter velvet cake” on the plate around the cake.
Handy Tips
- Use room temperature ingredients for easier mixing and a lighter texture. Don’t overmix the batter, as this can lead to a dense cake. If you find your cake is too dense, try adding a little more liquid to the batter next time. For a moist cake, don’t overbake – check the cake frequently towards the end of the baking time.
Heat Control
For this recipe, the ideal temperature is 350°F (175°C), and the cakes should be baked for about 25-30 minutes. Signs of doneness include the cake feeling springy to the touch and a toothpick inserted into the center coming out clean. Keep an eye on the cakes after 20 minutes, as oven times can vary.
Crunch Factor
This cake should be tender and moist, with a smooth velvety frosting. To achieve this, make sure not to overbake the cake and use high-quality peanut butter for the frosting. If you want to add a crunch factor, you could sprinkle some chopped peanuts on top of the frosting before serving.
Pro Kitchen Tricks
- To ensure your cakes are evenly baked, rotate the pans halfway through the baking time. For a professional finish, use a turntable to display your cake and make it easier to access all sides for frosting and decorating.
Storage Tips
- The cake can be stored at room temperature for up to 3 days, covered with plastic wrap or aluminum foil. For longer storage, it can be refrigerated for up to 5 days or frozen for up to 2 months. When freezing, it’s best to freeze the layers separately before assembling and frosting the cake. To reheat, simply thaw at room temperature or refrigerate overnight.
Gift Packaging Ideas
This cake makes a wonderful gift, especially for birthdays or holidays. Consider packaging it in a decorative cake box or on a fancy serving plate, wrapped with a ribbon around it. You could also include a card with the recipe or a personal message, making it an even more thoughtful gift.
Flavor Variations
- Different spices: Add a pinch of salt or a teaspoon of cinnamon to the batter for added depth of flavor.
- Creative toppings: Instead of just frosting, top your cake with chopped nuts, chocolate shavings, or even caramel sauce for a different look and taste.
- Ingredient swaps: Try using almond butter instead of peanut butter for a different nutty flavor, or milk chocolate for a sweeter cake.
Troubleshooting
- Texture problems: If your cake turns out too dense, it might be due to overmixing the batter. If it’s too dry, it could be overbaked. Adjust your technique and baking time accordingly for the next attempt.
- Ingredient replacements: If you’re allergic to peanuts, you can substitute the peanut butter with another nut butter. For those with dairy allergies, consider using non-dairy milk and vegan butter substitutes.
- Over/undercooking signs: Keep an eye on your cakes while they’re baking. If they’re undercooked, they’ll be soggy in the center. If overcooked, they’ll be dry and possibly cracked on top.
FAQs
- Can I freeze it? Yes, you can freeze the cake layers before assembling and frosting for up to 2 months.
- Is it gluten-free? No, this recipe includes all-purpose flour and is not gluten-free. However, you can experiment with gluten-free flours as a substitute.
- Can I double the recipe? Yes, you can double the recipe to make a larger cake. Just keep in mind that you’ll need to adjust the baking time accordingly.
Conclusion
Making a chocolate peanut butter velvet cake on a plate with the words “chocolate peanut butter velvet cake” is a fun and creative project that combines delicious flavors with a personal touch. With these steps and tips, you’re well on your way to creating a masterpiece that will impress anyone. Don’t be afraid to experiment with different flavors and decorations to make the cake truly your own. Happy baking, and enjoy the process of sharing your creations with others!