What makes a dessert truly unforgettable? This rainbow oreo cheesecake drip cake is a masterpiece of homemade baking, combining the richness of cream cheese with the crunch of Oreos and a vibrant rainbow effect, perfect for a quick and easy family favorite, Save this idea
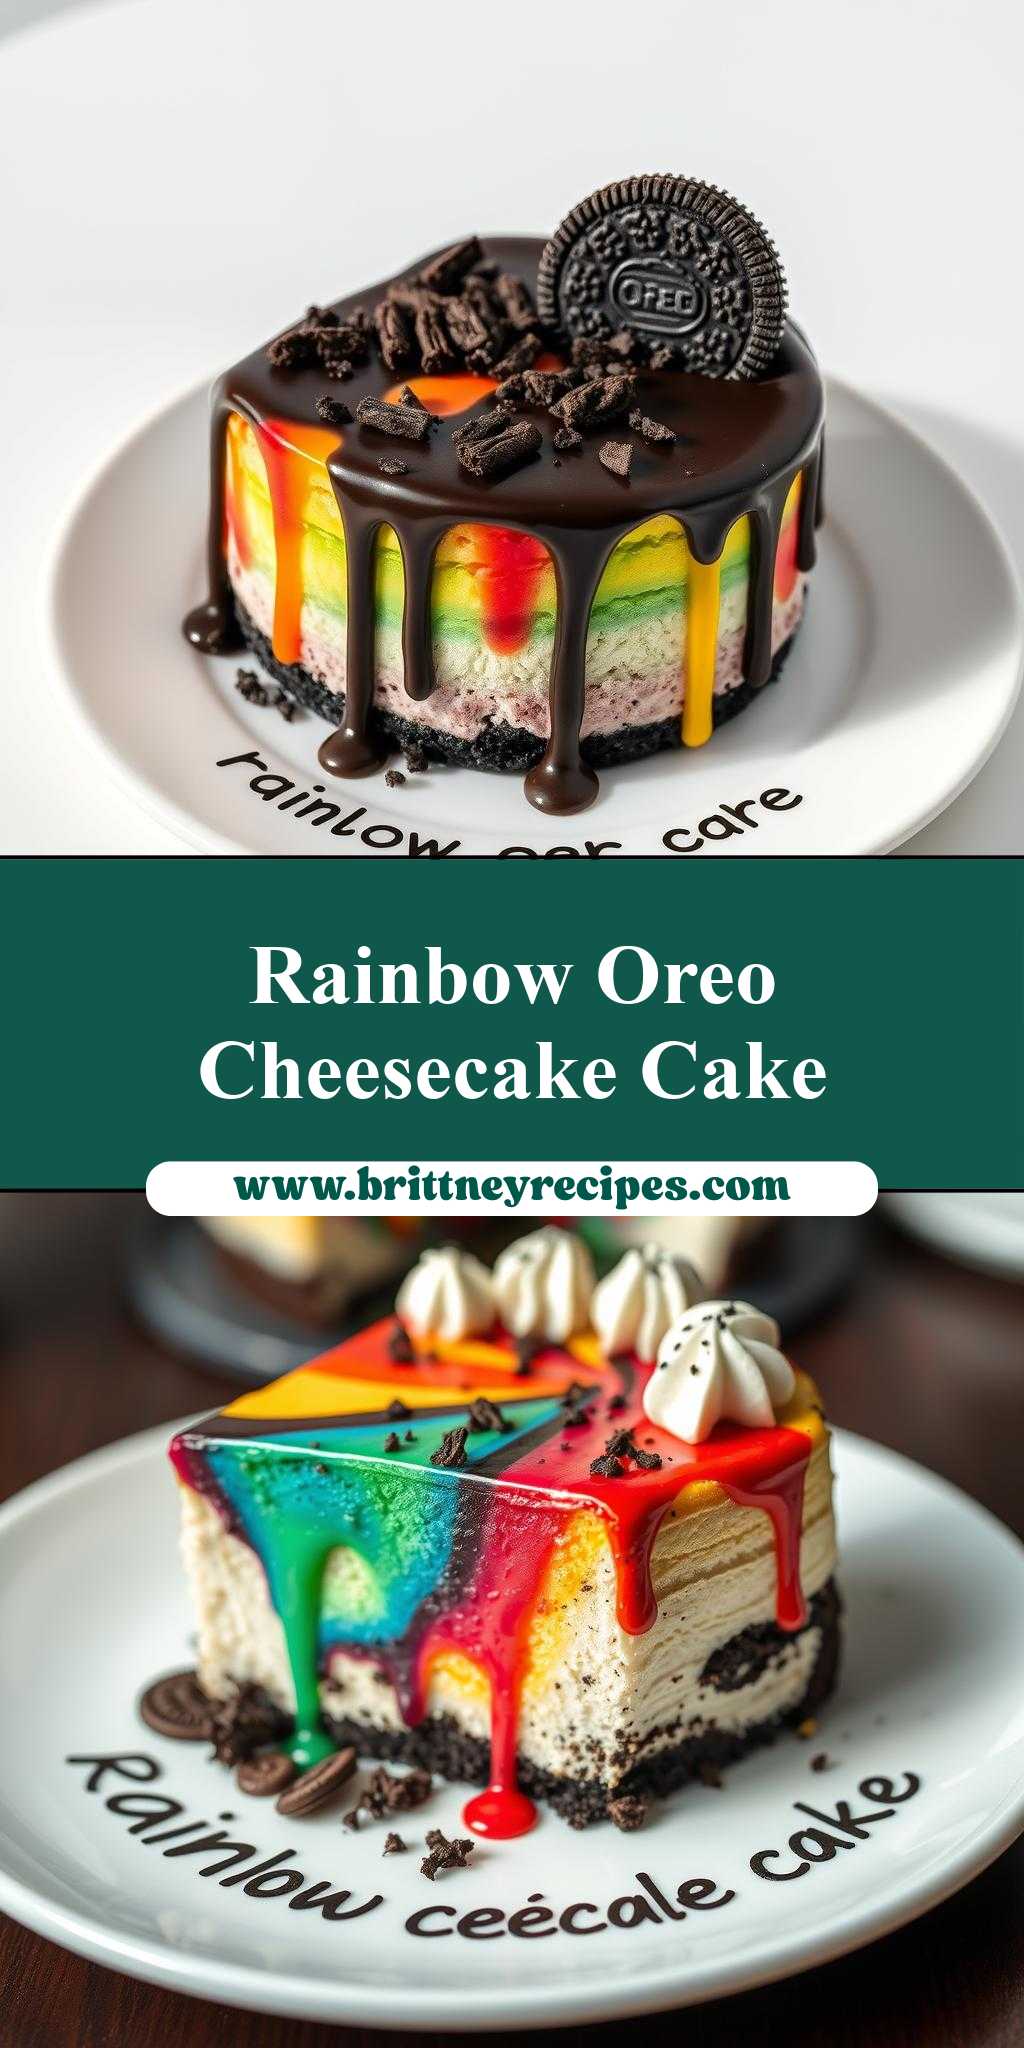
rainbow oreo cheesecake drip cake on a plate with the words, rainbow oreo cheesecake drip cake
Introduction
Imagine a dessert that combines the creaminess of cheesecake, the crunch of Oreo cookies, and the vibrant colors of a rainbow, all in one stunning dish. The Rainbow Oreo Cheesecake Drip Cake is a masterpiece of creativity and flavor, using everyday ingredients to create a truly show-stopping dessert. With its layers of moist cheesecake, crunchy Oreo crust, and colorful rainbow drips, this cake is sure to impress anyone who lays eyes on it. And the best part? It’s surprisingly easy to make, requiring minimal special equipment or ingredients. In this article, we’ll guide you through the process of creating this stunning dessert, from prep to plating.
Why This Works
- The combination of creamy cheesecake, crunchy Oreo crust, and sweet rainbow drips creates a perfect balance of flavors and textures that will leave everyone wanting more.
- The use of accessible ingredients like Oreos, cream cheese, and food coloring makes this dessert easy to make, even for those with limited baking experience.
- The impressive results of this cake, with its vibrant colors and stunning presentation, make it perfect for special occasions or as a centerpiece for any gathering.
Key Ingredients
To make this Rainbow Oreo Cheesecake Drip Cake, you’ll need a few key ingredients. For the crust, you’ll need Oreos, melted butter, and a pinch of salt. For the cheesecake, you’ll need cream cheese, granulated sugar, eggs, and vanilla extract. For the rainbow drips, you’ll need white chocolate, food coloring, and a bit of shortening. You can substitute the Oreos with other cookies or wafers, and use different types of chocolate or flavor extracts to change up the flavor. Practical substitutions include using gluten-free cookies for a gluten-free crust, or using dairy-free cream cheese for a dairy-free cheesecake.
Instructions
- Step 1: Begin by preparing your ingredients. Crush the Oreos in a food processor or place them in a plastic bag and crush them with a rolling pin. Measure out the cream cheese, sugar, eggs, and vanilla extract. Melt the butter and mix it with the crushed Oreos and a pinch of salt to create the crust.
- Step 2: Press the crust mixture into the bottom of a springform pan and bake it in the oven until it’s lightly browned. Meanwhile, mix the cream cheese, sugar, eggs, and vanilla extract in a large bowl until smooth. Pour the cheesecake mixture over the baked crust and smooth the top.
- Step 3: Bake the cheesecake until it’s set and the edges are lightly browned. Allow it to cool completely in the pan. Once cooled, melt the white chocolate and mix it with a bit of shortening. Divide the melted chocolate into small bowls and add a few drops of food coloring to each bowl to create the rainbow colors.
- Step 4: Drizzle the colored chocolate over the cooled cheesecake in a random, swirly pattern to create the rainbow effect. Use a spatula or knife to spread the chocolate and create a smooth, even layer. Finally, write the words “rainbow oreo cheesecake drip cake” on the plate in chocolate sauce or whipped cream to complete the presentation.
Handy Tips
- To ensure a smooth and creamy cheesecake, make sure to beat the cream cheese and eggs until they’re fully incorporated and smooth.
- To prevent the crust from becoming too brown, keep an eye on it while it’s baking and cover the edges with foil if necessary.
- To achieve a vibrant and colorful rainbow effect, use high-quality food coloring and mix it with a bit of shortening to create a smooth and even consistency.
Heat Control
If you’re using a conventional oven to bake the cheesecake, make sure to preheat it to 350°F (180°C) and bake the cheesecake for 45-50 minutes, or until the edges are lightly browned and the center is set. If you’re using a water bath, make sure the water level is below the bottom of the springform pan and bake the cheesecake for 50-60 minutes, or until the edges are lightly browned and the center is set. To check for doneness, gently shake the pan and check if the center is set. If it’s still jiggly, bake for an additional 10-15 minutes and check again.
Crunch Factor
The crunch factor in this dessert comes from the Oreo crust, which provides a nice textural contrast to the smooth and creamy cheesecake. To achieve the perfect crunch, make sure to bake the crust until it’s lightly browned and set. You can also add some chopped nuts or cookies to the crust mixture for extra crunch. To ensure the cheesecake is tender and creamy, don’t overbake it and make sure to cool it completely in the pan.
Pro Kitchen Tricks
- To ensure a smooth and even cheesecake, use a water bath to bake it. This will help to prevent cracking and ensure a smooth and creamy texture.
- To achieve a vibrant and colorful rainbow effect, use a high-quality food coloring and mix it with a bit of shortening to create a smooth and even consistency.
- To prevent the chocolate from seizing up when you add the food coloring, make sure to mix it with a bit of shortening first. This will help to create a smooth and even consistency.
Storage Tips
- To store the cheesecake, wrap it tightly in plastic wrap or aluminum foil and refrigerate it for up to 3 days.
- To freeze the cheesecake, wrap it tightly in plastic wrap or aluminum foil and place it in a freezer-safe bag. Frozen cheesecake will keep for up to 2 months.
- To reheat the cheesecake, thaw it overnight in the refrigerator and let it come to room temperature before serving. You can also reheat it in the microwave or oven, but be careful not to overheat it.
Gift Packaging Ideas
If you want to give this Rainbow Oreo Cheesecake Drip Cake as a gift, consider packaging it in a beautiful cake box or container. You can also add some decorative touches, such as a ribbon or a gift tag, to make it look more special. If you’re shipping the cake, make sure to package it carefully and use a sturdy box to prevent damage during transit.
Flavor Variations
- To change up the flavor of the cheesecake, try using different types of extract, such as almond or coconut.
- To add some extra flavor to the cheesecake, try mixing in some chopped nuts or cookies into the batter.
- To create a different type of drip cake, try using different types of chocolate or candy melts. You can also add some sprinkles or other toppings to create a fun and colorful effect.
Troubleshooting
- If the cheesecake cracks, don’t worry! It’s still edible and delicious. To prevent cracking, make sure to bake the cheesecake in a water bath and avoid overbaking it.
- If the chocolate seizes up when you add the food coloring, try mixing it with a bit of shortening first. This will help to create a smooth and even consistency.
- If the cheesecake is too dense or dry, try adding a bit more cream cheese or sour cream to the batter. This will help to create a smooth and creamy texture.
FAQs
- Can I freeze it? Yes, you can freeze the cheesecake for up to 2 months. Simply wrap it tightly in plastic wrap or aluminum foil and place it in a freezer-safe bag.
- Is it gluten-free? No, this recipe is not gluten-free. However, you can substitute the Oreos with gluten-free cookies or wafers to make a gluten-free crust.
- Can I double the recipe? Yes, you can double the recipe to make a larger cheesecake. Simply multiply all the ingredients by two and bake the cheesecake in a larger pan.
Conclusion
The Rainbow Oreo Cheesecake Drip Cake is a stunning and delicious dessert that’s perfect for any occasion. With its layers of moist cheesecake, crunchy Oreo crust, and colorful rainbow drips, this cake is sure to impress anyone who lays eyes on it. Whether you’re a seasoned baker or a beginner, this recipe is easy to follow and requires minimal special equipment or ingredients. So go ahead, give it a try, and enjoy the oohs and aahs from your friends and family. Happy baking!