What makes a classic blue cake truly unforgettable is the velvety smoothness of its white frosting. This homemade dessert is surprisingly easy to make using simple ingredients like butter and vanilla extract. Perfect for a quick weeknight treat or family gathering, save this idea for a deliciously easy recipe to try soon
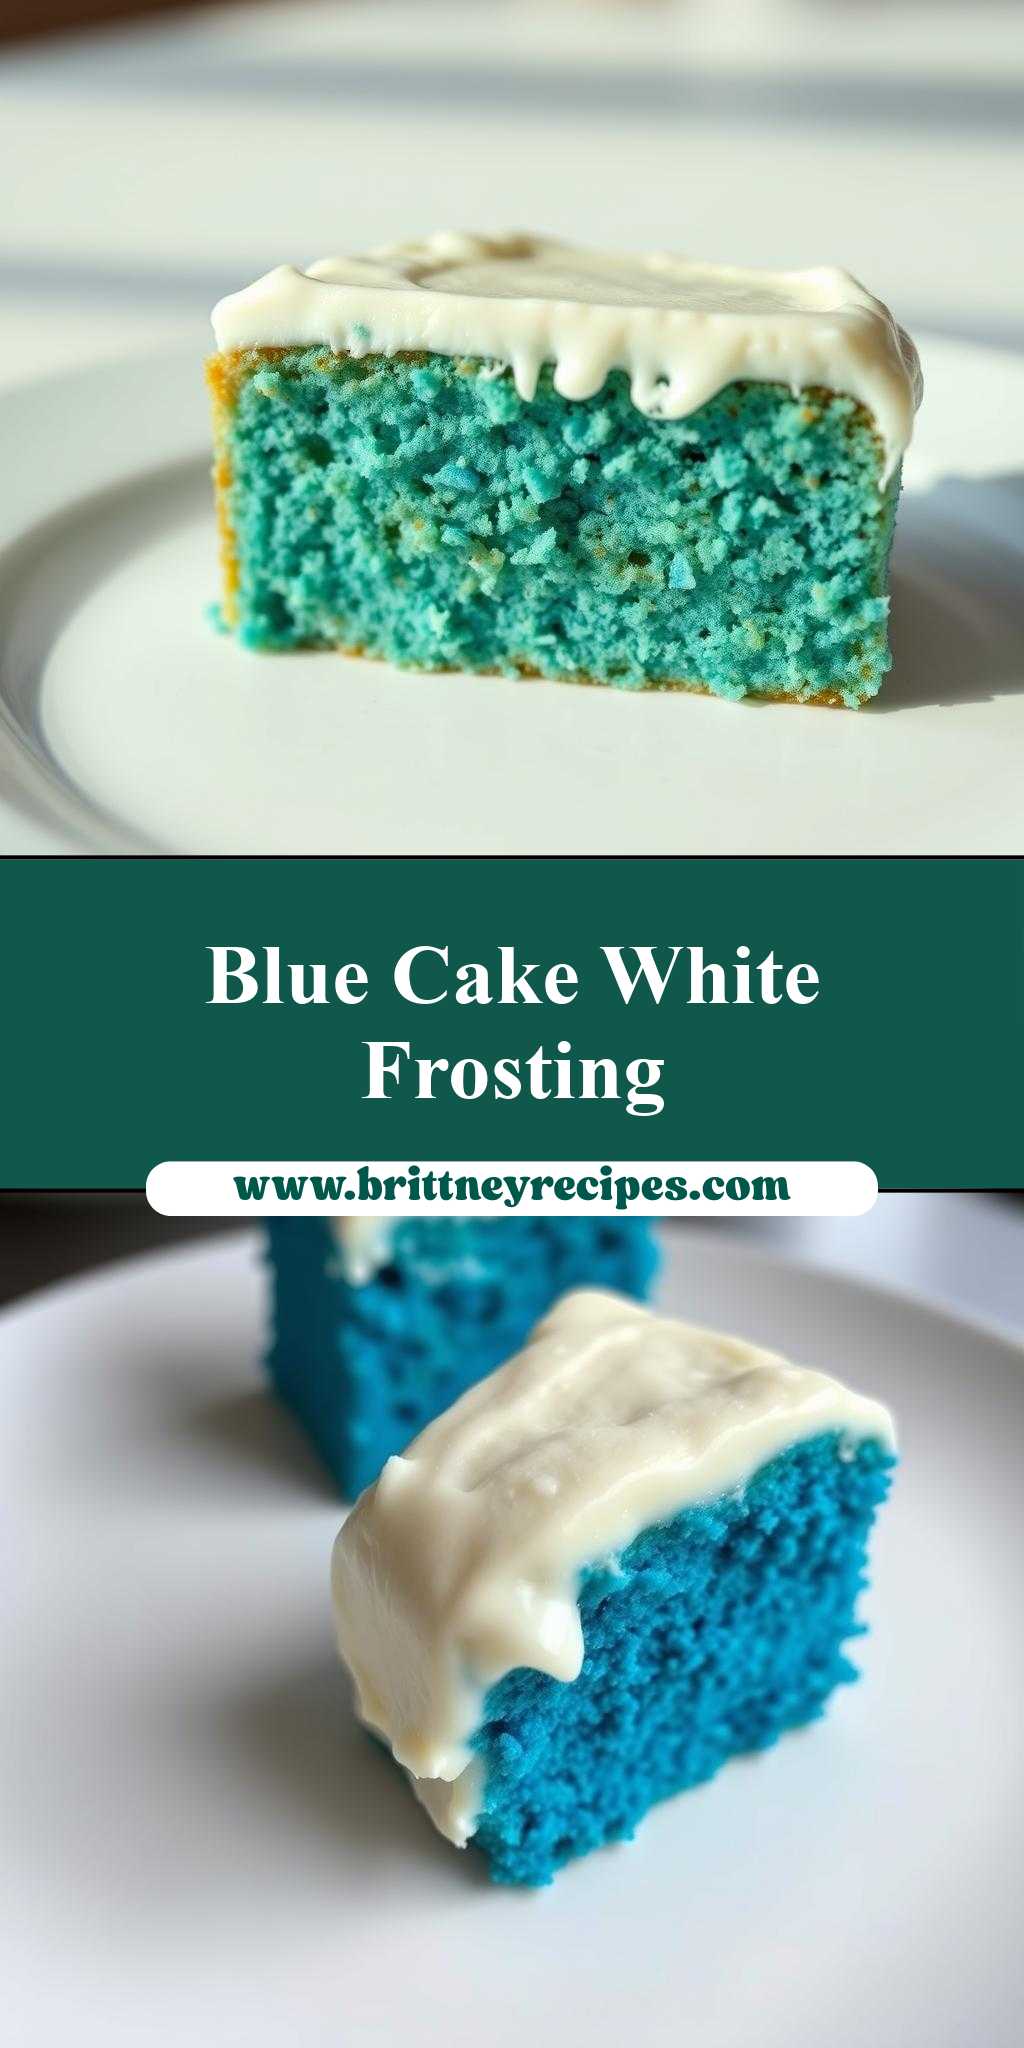
two pictures of a blue cake with white frosting
Introduction
Imagine a cake so stunning, it stops conversations and sparks joy – a vibrant blue cake smothered in a rich, velvety white frosting. This masterpiece is not only a treat for the eyes but also a delight for the taste buds, offering a perfect balance of flavors and textures that will leave everyone wanting more. The best part? It’s surprisingly easy to make, using everyday ingredients that you might already have in your pantry. With a little creativity and some straightforward instructions, you can create this show-stopping dessert that’s sure to impress at any gathering or celebration.
Why This Works
- Flavor balance and ingredient accessibility: The combination of the moist blue cake and the creamy white frosting creates a delightful harmony of flavors, and the ingredients are readily available in most grocery stores.
- Ease of preparation: Despite its impressive appearance, this cake is relatively simple to prepare, requiring basic baking skills and minimal special equipment.
- Impressive results with minimal effort: The vibrant color of the cake and the smooth frosting give it a professional look that belies the ease of its preparation, making it perfect for those who want to impress without spending hours in the kitchen.
Key Ingredients
The main ingredients for this recipe include all-purpose flour, granulated sugar, unsalted butter, eggs, milk, food coloring (blue), and for the frosting, cream cheese, butter, vanilla extract, and powdered sugar. Practical substitutions can be made for some ingredients, such as using almond milk instead of regular milk for a dairy-free option or replacing cream cheese with mascarpone for a slightly different flavor profile.
Instructions
- Step 1: Begin by preheating your oven to 350°F (175°C). Prepare two 9-inch round cake pans by greasing them and lining the bottoms with parchment paper. In a medium bowl, whisk together flour, sugar, and a pinch of salt. In a large bowl, using an electric mixer, beat the butter until creamy, then add eggs one at a time, followed by the milk and blue food coloring, mixing well after each addition.
- Step 2: Gradually add the dry ingredients to the wet ingredients, mixing until just combined. Divide the batter evenly between the prepared pans and smooth the tops. Bake for about 25-30 minutes or until a toothpick inserted in the center comes out clean. Let the cakes cool in the pans for 5 minutes before transferring them to a wire rack to cool completely.
- Step 3: For the frosting, beat the cream cheese and butter until smooth. Add the vanilla extract and mix well. Gradually add the powdered sugar, beating until smooth and creamy. You can adjust the consistency of the frosting by adding more powdered sugar if you prefer it thicker or a bit of milk if you prefer it thinner.
- Step 4: Once the cakes are completely cool, you can assemble the cake. Place one cake layer on a serving plate and spread a generous amount of frosting on top. Place the second cake layer on top and frost the entire cake with the remaining frosting. You can decorate the cake as desired, but the simplicity of the blue and white colors makes it stunning on its own.
Handy Tips
- For a more intense blue color, use a high-quality food coloring. If you’re using a gel or paste, start with a small amount and add more as needed, as these can be very potent.
- Avoid overmixing the batter, as this can result in a dense cake. Stop mixing as soon as the ingredients are combined.
- Make sure your butter and eggs are at room temperature before starting, as this will help the cake mix come together smoothly and evenly.
Heat Control
If you’re baking, the ideal temperature is 350°F (175°C), and the cakes are done when a toothpick inserted into the center of each cake comes out clean. This should take about 25-30 minutes, but keep an eye on them after 20 minutes, as oven times can vary. The cakes should be lightly golden on the tops and completely set.
Crunch Factor
This cake is designed to be moist and tender, not crunchy. To achieve this, make sure not to overbake the cakes. A toothpick inserted into the center should come out clean, but if you prefer a slightly more moist cake, you can take them out when there are a few moist crumbs attached to the toothpick. The frosting adds a smooth and creamy contrast to the tender cake.
Pro Kitchen Tricks
- For a professional finish, chill the cake in the refrigerator for about 10 minutes before serving. This will set the frosting and make the cake easier to slice cleanly.
- Use room temperature ingredients for the frosting as well, as this will help it come together smoothly and evenly.
- If you find that your frosting is too thin, refrigerate it for about 10 minutes to firm it up before using. Conversely, if it’s too thick, you can let it sit at room temperature for a few minutes to soften.
Storage Tips
- The cake can be stored at room temperature for up to 2 days, covered with plastic wrap or aluminum foil. For longer storage, it can be refrigerated for up to 5 days or frozen for up to 2 months. If freezing, it’s best to freeze the cake layers separately before frosting and assembling.
- For reheating, if the cake has been refrigerated or frozen, let it come to room temperature before serving. You can also warm it slightly in the microwave, but be careful not to overheat, as this can cause the frosting to melt.
- Use airtight containers for storage to keep the cake fresh and prevent it from drying out.
Gift Packaging Ideas
This cake makes a wonderful gift, especially for birthdays or special occasions. Consider placing the cake on a decorative cake stand or plate, and then wrapping it in clear plastic wrap or a large cellophane bag. You can tie a ribbon around the stand or plate for a more personalized touch. Another idea is to package slices of the cake in individual containers or jars, perfect for a gift basket or as a party favor.
Flavor Variations
- Different spices: Adding a pinch of salt or a teaspoon of vanilla extract to the batter can enhance the flavor of the cake. For a unique twist, you could try adding a teaspoon of lemon or orange zest to the batter or frosting.
- Creative toppings: While the simplicity of the blue cake and white frosting is part of its charm, you can also decorate it with sprinkles, chopped nuts, or even edible flowers for a more festive look.
- Ingredient swaps: For a gluten-free version, you could substitute the all-purpose flour with a gluten-free flour blend. For a vegan version, you could replace the eggs with flax eggs and use a vegan butter substitute.
Troubleshooting
- Texture problems: If your cake turns out too dense, it might be due to overmixing the batter. If it’s too dry, it could be overbaked. Adjust your mixing and baking times accordingly for the next attempt.
- Ingredient replacements: If you’re missing an ingredient, there are often substitutions you can make. For example, if you don’t have buttermilk, you can make a substitute by mixing milk with a tablespoon of white vinegar or lemon juice and letting it sit for a few minutes.
- Over/undercooking signs: Keep an eye on your cakes while they’re baking. If they’re done too soon, they might be underbaked and sink in the center. If they’re overbaked, they’ll be dry and possibly too dark on the edges.
FAQs
- Can I freeze it? Yes, you can freeze the cake layers before frosting and assembling for up to 2 months. It’s best to freeze them separately and then thaw at room temperature or refrigerate overnight before frosting and serving.
- Is it gluten-free? The original recipe includes gluten due to the all-purpose flour. However, you can make a gluten-free version by substituting the flour with a gluten-free flour blend.
- Can I double the recipe? Yes, you can double the recipe to make a larger cake. Just keep in mind that you’ll need to adjust the baking time accordingly. A larger cake will take longer to bake through, so check it frequently towards the end of the baking time to avoid overcooking.
Conclusion
Making a two pictures of a blue cake with white frosting is a fun and rewarding baking project that’s perfect for beginners and experienced bakers alike. With its striking appearance and delicious taste, it’s sure to be a hit at any gathering. Don’t be afraid to experiment with different flavors and decorations to make the cake your own. Whether you’re celebrating a special occasion or just want a sweet treat, this cake is sure to bring joy and satisfaction. So go ahead, get baking, and enjoy the process of creating something beautiful and delicious!