What’s the secret to making mornings sweeter? Homemade cinnamon rolls, freshly baked with tender dough and topped with a rich icing, are the perfect treat. Made with simple ingredients like cinnamon and sweet vanilla, these easy pastries are a family favorite. Save this idea
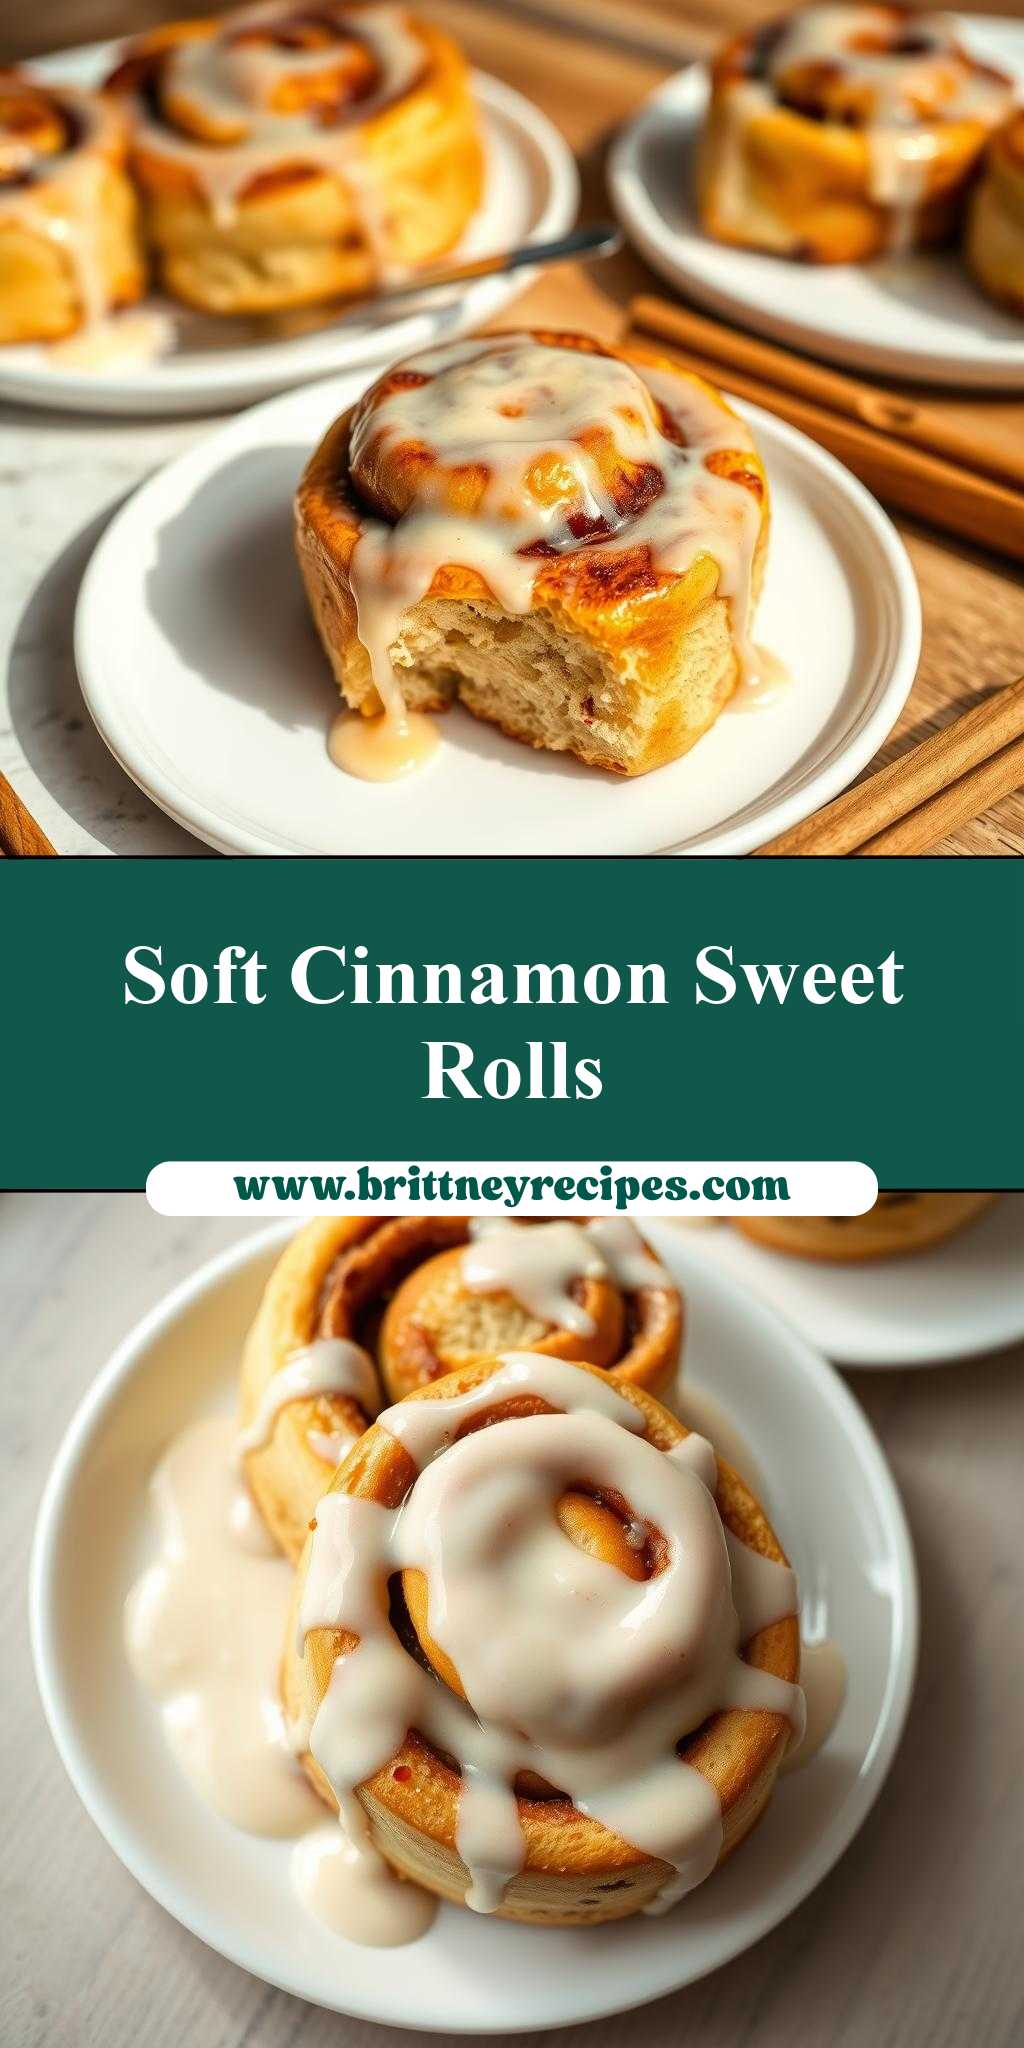
homemade cinnamon rolls with icing on white plates
Introduction
Imagine the warmth and comfort of homemade cinnamon rolls, fresh from the oven, topped with a rich and creamy icing, all beautifully presented on crisp white plates. This classic treat is not only a delight to the taste buds but also a testament to the magic of transforming everyday ingredients into something truly special. With this recipe, you’ll discover how easily you can create these mouthwatering pastries, perfect for a cozy family breakfast, a delightful brunch with friends, or even as a thoughtful gift. The best part? It’s incredibly easy to make, requiring minimal effort for a result that’s sure to impress.
Why This Works
- Flavor balance and ingredient accessibility: The combination of sweet and spicy flavors in cinnamon rolls is a classic for a reason. This recipe uses readily available ingredients, making it accessible to anyone looking to bake something delicious.
- Ease of preparation: Despite the impressive outcome, the process of making these cinnamon rolls is surprisingly straightforward. With simple steps and minimal special equipment, it’s a recipe that beginners and experienced bakers will enjoy alike.
- Impressive results with minimal effort: The end result is not only delicious but also visually appealing, especially when topped with a generous dollop of icing and served on white plates. It’s the perfect way to add a touch of homemade elegance to any meal or gathering.
Key Ingredients
To make these scrumptious homemade cinnamon rolls, you’ll need a few key ingredients. These include warm milk, active dry yeast, all-purpose flour, granulated sugar, salt, large eggs, unsalted butter (melted), ground cinnamon, and icing sugar for the topping. For the icing, you’ll need powdered sugar, milk, and a bit of vanilla extract for extra flavor. Practical substitutions can be made for some ingredients, such as using brown sugar instead of granulated for a richer flavor or almond milk for a dairy-free version. The beauty of this recipe lies in its flexibility and the opportunity to get creative with the ingredients you have on hand.
Instructions
- Step 1: Begin by activating the yeast in warm milk, then combine flour, sugar, and salt in a separate bowl. Add eggs, melted butter, and the yeast mixture to the dry ingredients and mix until a smooth dough forms. Knead the dough for about 10 minutes until it becomes elastic and smooth.
- Step 2: Place the dough in a greased bowl, cover it, and let it rise in a warm place until it has doubled in size. This step is crucial as it allows the yeast to ferment, giving the rolls their light and airy texture.
- Step 3: On a floured surface, roll out the dough into a large rectangle. Mix cinnamon and sugar, then sprinkle this mixture evenly over the dough, leaving a small border around the edges. Roll the dough into a tight log, cut it into equal pieces, and place them in a baking dish, leaving space between each roll for them to rise again.
- Step 4: Bake the rolls until they’re golden brown, then let them cool slightly. While they’re still warm, drizzle with icing made by whisking together powdered sugar, milk, and vanilla extract. Serve warm on white plates for the most appealing presentation.
Handy Tips
- Ensure your ingredients, especially the yeast, are fresh for the best results. Old yeast can lead to dough that doesn’t rise properly.
- Don’t overmix the dough, as this can lead to tough cinnamon rolls. Mix just until the ingredients come together in a shaggy mass, then knead.
- Let the rolls rise long enough. This step is crucial for light and airy pastries.
Heat Control
When baking the cinnamon rolls, it’s essential to control the heat to achieve the perfect golden brown color without burning. Preheat your oven to 375°F (190°C) and bake for about 18-20 minutes, or until the rolls are golden brown. Keep an eye on them during the last few minutes of baking, as oven temperatures can vary.
Crunch Factor
The crunch factor in cinnamon rolls comes from the caramelized sugar on the surface and the soft, fluffy interior. To achieve this, make sure not to overbake. The rolls should be lightly golden and still soft to the touch when they’re done. If you prefer a crunchier top, you can broil them for an additional minute, watching carefully to avoid burning.
Pro Kitchen Tricks
- Use high-quality cinnamon for the best flavor. Saigon cinnamon is particularly good for baking due to its intense, sweet flavor.
- For an extra fluffy interior, try adding an extra step of laminating the dough. This involves rolling and folding the dough multiple times to create layers of butter and dough, similar to making croissants.
- Cleanup can be made easier by preparing your ingredients and tools beforehand and having a trash can and cleaning supplies handy.
Storage Tips
- Leftover cinnamon rolls can be stored in an airtight container at room temperature for up to 3 days. They can also be frozen for up to 2 months. Simply thaw at room temperature or reheat in the microwave.
- For reheating, wrap the rolls in foil and warm them in a preheated oven at 350°F (175°C) for about 5 minutes, or until warmed through.
- Consider using glass or plastic containers with tight-fitting lids for storing to keep the rolls fresh and protected from dust and other contaminants.
Gift Packaging Ideas
If you’re considering gifting your homemade cinnamon rolls, presentation is key. Place the rolls in a decorative tin or a sturdy cardboard box lined with parchment paper. You can also wrap individual rolls in plastic wrap or aluminum foil and place them in a gift bag. Adding a personal touch, such as a handwritten note or a small packet of gourmet coffee, can make the gift even more special. For a more rustic look, consider using burlap or a vintage tea towel to wrap the rolls, secured with twine and a gift tag.
Flavor Variations
- Different spices: Try adding a pinch of nutmeg or cardamom to the dough for a unique twist on the traditional cinnamon flavor.
- Creative toppings: Instead of the traditional icing, top your cinnamon rolls with a crumbly streusel topping, chopped nuts, or even a drizzle of chocolate for a sweet and indulgent treat.
- Ingredient swaps: For a gluten-free version, substitute the all-purpose flour with a gluten-free flour blend. You can also use dairy-free milk and vegan butter to make the recipe accessible to those with dietary restrictions.
Troubleshooting
- Texture problems: If your dough is too sticky, add a bit more flour. If it’s too dry, add a bit more milk. The key is to find a balance where the dough is smooth and elastic.
- Ingredient replacements: If you’re out of an ingredient, don’t be afraid to get creative with substitutions. Just remember that substituting ingredients can sometimes affect the final product’s texture and flavor.
- Over/undercooking signs: Keep an eye on your rolls while they’re baking. They should be golden brown and sound hollow when tapped on the bottom. If they’re undercooked, they’ll be pale and soft; if overcooked, they’ll be dark and hard.
FAQs
- Can I freeze it? Yes, you can freeze the dough after the first rise, or you can freeze the baked rolls. Simply thaw and bake or reheat as needed.
- Is it gluten-free? The original recipe is not gluten-free, but you can easily make it gluten-free by substituting the flour with a gluten-free flour blend.
- Can I double the recipe? Yes, you can double or even triple the recipe if you’re planning to make a large batch. Just ensure you have enough space for the dough to rise and for baking the rolls.
Conclusion
Making homemade cinnamon rolls with icing on white plates is a rewarding baking experience that combines the joy of creation with the pleasure of sharing delicious food with others. Whether you’re a seasoned baker or just starting out, this recipe is a great way to explore the world of baking and to create something truly special. Don’t be afraid to experiment with different flavors and ingredients, and most importantly, have fun with the process. The act of baking is not just about following a recipe; it’s about sharing love, comfort, and joy, one delicious treat at a time.